Disclosure of Material Connection: Some of the links in this post may be "affiliate links." This means if you click on the link and purchase an item, I will receive an affiliate commission. Disclosure in accordance with the Federal Trade Commission's 16 CFR, Part 255. This site is a participant in the Amazon Services LLC Associates Program, an affiliate advertising program designed to provide a means for sites to earn advertising fees by advertising and linking to Amazon.
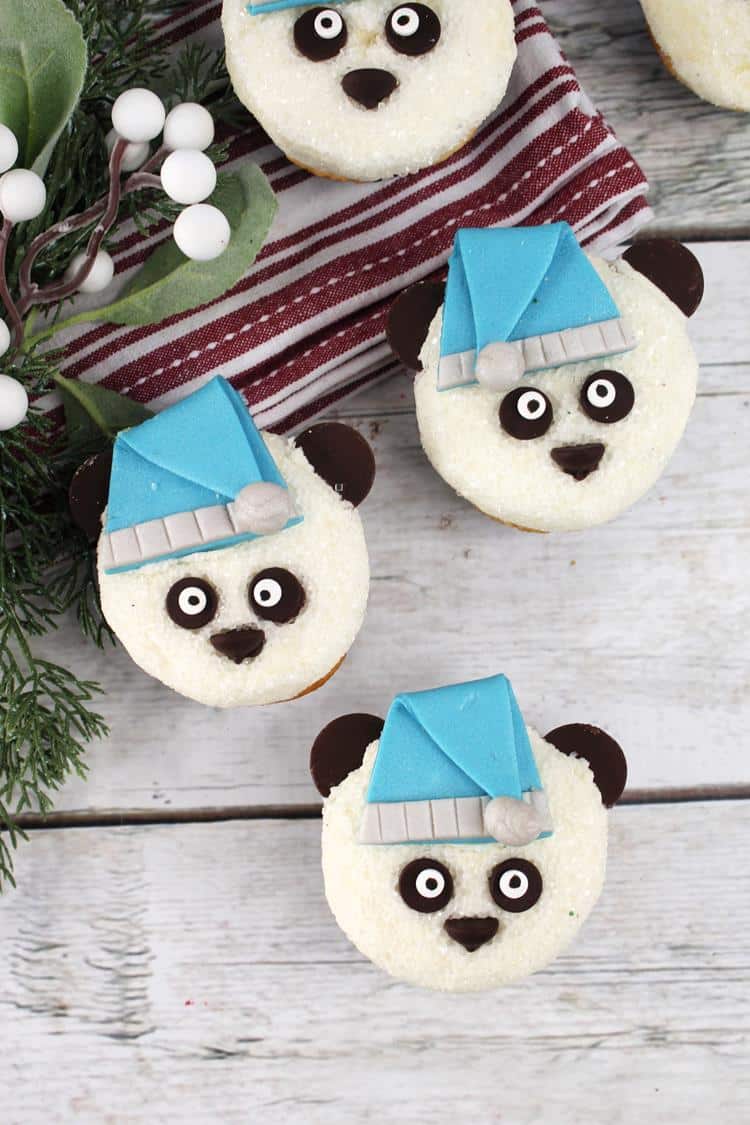
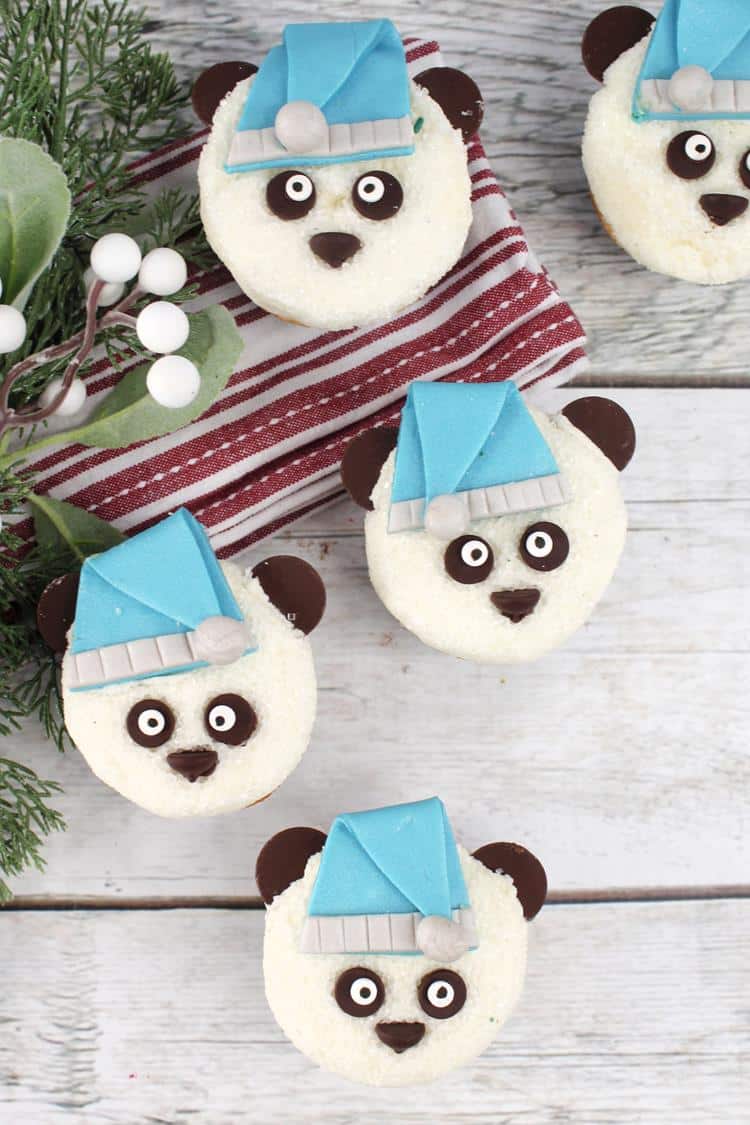
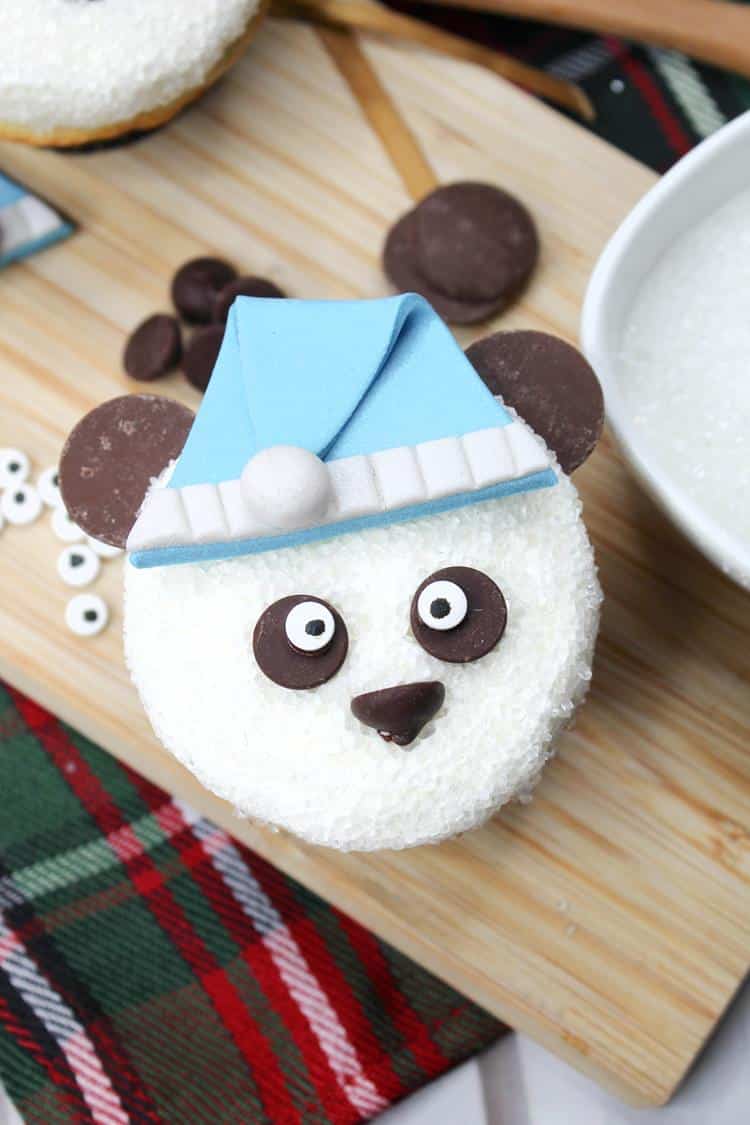
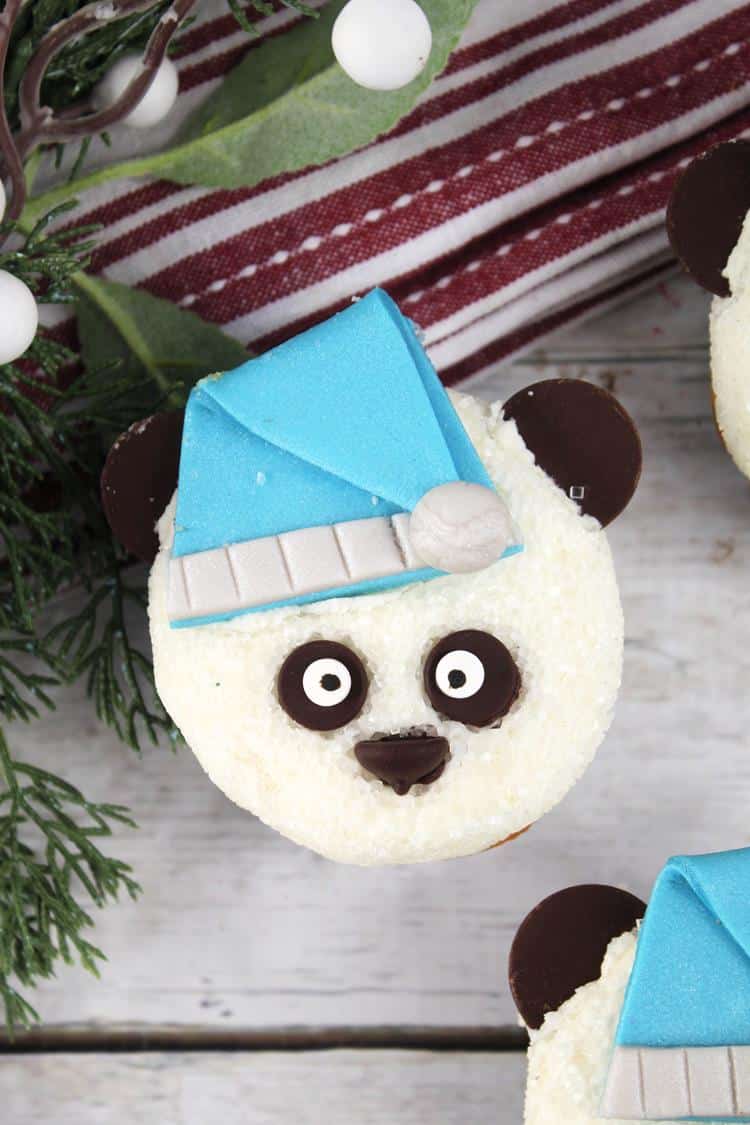
Is there anything more adorable than panda cupcakes? How about sleepy panda cupcakes! Topped with a little night hat. These adorable sleepy panda cupcakes are perfect for a kids party, themed party, or even for a cute get together with friends that appreciate the cuteness. Each vanilla based cupcake is stopped with delicious vanilla frosting, chocolate chips, chocolate melts, and blue fondant hats! Learn how to create these adorable Panda’s below!

Adorable Sleepy Panda Cupcakes For Kids Parties
Picture it, your kids are having a sleepover and you bring these for an evening snack! Everyone will be blown away with how cute they are and of course, how delicious they are. They surprisingly don’t take long and are very easy to decorate! We’ve broken it down into steps: fondant hats, Vanilla cupcakes, Vanilla frosting, and decorating steps. To help make the process easier.

Sleeping Panda Alternatives
If you are looking at this recipe and feeling a bit overwhelmed, don’t be! It’s not as complicated as it may seem. However we are always here to give a few tips to make it even easier! For the fondant hats you can easily skip this step if you feel its too much. Consider using regular icing – color of your choice, and shape it into a hat. Use a candy piece as a pom pom on top. You can also purchase icing gel pens and draw one on. You can also skip the eyballs and draw on closed eyes so the panda appears sleeping if you plan to skip the hat all together. Don’t be afraid to get creative!

Adorable Sleepy Panda Cupcakes Recipe
- Makes 16 cupcakes
- Prep time : 20 minutes
- Bake time 20 minutes
- Decorating time : 60 minutes

Please note for this recipe you will need to do the fondant hats prior to the rest. The hates require 24 to 48 hours to fully dry.
Ingredients
Fondant hat
- 1 – 8 oz package shimmer sky blue fondant
- 1 – 8 oz package shimmer pearl fondant
- 1 fondant glue
- 1 package of fondant tools
Vanilla Cupcake
- 1 ½ C flour
- 1 tsp baking powder
- ¼ tsp baking soda
- ¼ tsp kosher salt
- 2/3 C whole milk
- 1 ½ tsp pure vanilla extract
- ½ cup unsalted sweet cream butter, slightly softened
- 1 C sugar
- 1 large egg
- 2 large egg whites
Vanilla Buttercream Frosting
- 4 ½ C powdered sugar
- 1 C unsalted sweet cream butter, softened
- 1 tbsp pure vanilla extract
- 4 tbsp heavy whipping cream
Decorating and tools
- 2 – 8 oz white sanding sugar
- 1 – 30 oz Ghirardelli milk melting wafers
- 1 – 8 oz Nestle chocolate chips
- 1 container of edible eyes
- 1 large piping bag fitted with large round tip
- Large round cookie scoop
- 1 mini angled cake spatula
Directions
Blue Fondant Hats
- Roll out the blue fondant to about 3 mm thick and cut 12 triangles to fit the size of your cupcakes.
- After cutting the triangle, bend the tops slightly to the bottom of the triangle to give a ‘floppy’ look.
- Roll out the shimmer fondant to 2 mm thick and cut out 1 inch ‘strips’ using the fondant knife, lightly make indents into the strip.
- Pinch off about ½ tsp of pearl fondant and roll into a ball
- Brush some fondant glue onto the back of the strips and place onto the bottom of the hat.
- Bend the tops again so that the tip meets the top of the pearl strip and dab with some glue carefully place the fondant ball onto the tip and lightly press down.
- Set aside while you make more hats and allow to air dry for 24-48 hours.
Cupcakes
- Preheat the oven to 325 degrees.
- Line a 12 cup cupcake pan with paper liners.
- In a medium bowl, whisk together the flour, baking powder, baking soda, and salt.
- In a small bowl, stir together the milk and vanilla.
- In the bowl of a stand mixer fitted with the paddle attachment, beat the butter and sugar on medium-high speed until light and fluffy, 2 to 3 minutes.
- Reduce the speed to medium-low, slowly add the egg and egg whites one at a time, and beat until creamy, 1 to 2 minutes.
- Slowly add half the flour mixture, then the milk mixture, then the remaining flour mixture, beating until just blended after each addition.
- Divide the batter evenly among the cupcake liners and bake until the tops are just dry to the touch, and a toothpick inserted into the center comes out clean, 18 to 20 minutes.
Vanilla Frosting
- Using a standing mixer with a paddle beater, cream the butter and vanilla until combined
- Mix in 2 C of powdered sugar on low speed until combined, the frosting will look like pebbles
- Mix in the remaining powdered sugar and slowly increase speed to medium speed
- Mix in the heavy whipping cream and continue to beat the frosting until it is combined and smooth
Decorating the cupcake
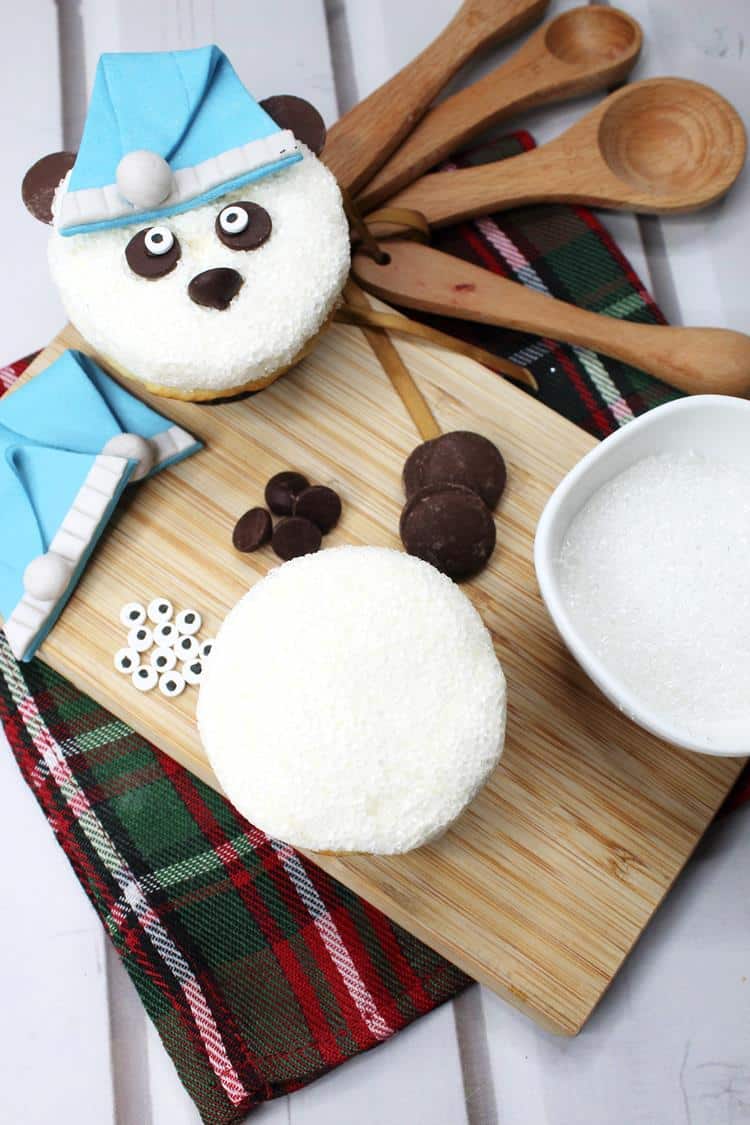
- Place your cooled cupcakes and get ready to decorate.
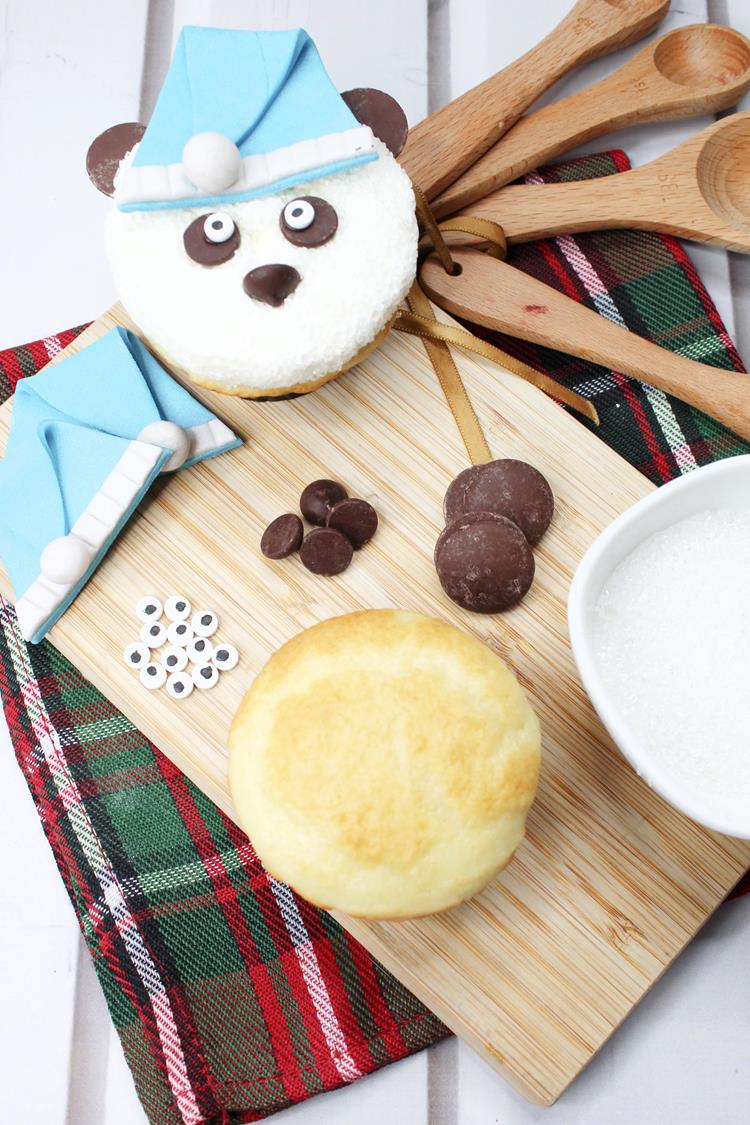
- Scoop a mound of frosting on top of the cupcake and use the cake spatula to smooth into a thick mound – add your white sanding sugar.
- Scoop some frosting into the piping bag
- Take three chocolate chips and push two in for the eyes. Turn the third to the side when you push in to give the definition of a nose
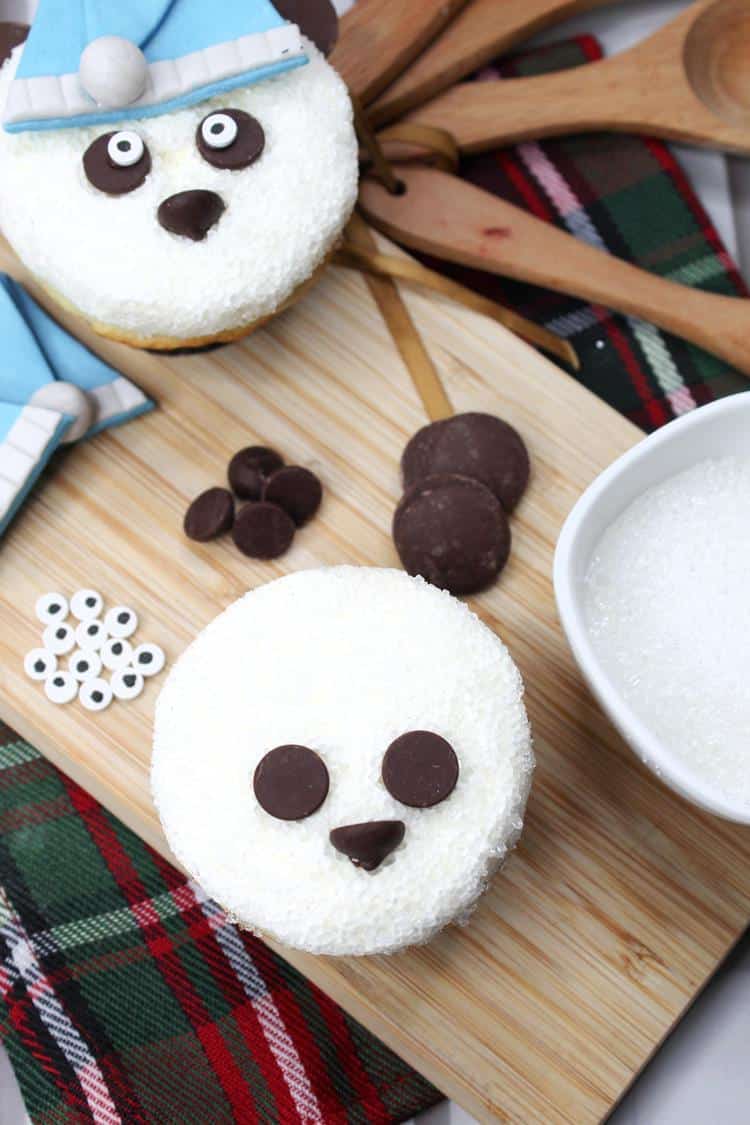
- Add a small dot of frosting onto the back of the eyes and place into the center of the melting wafer
- Place two melting wafer on the side for the ears

- Carefully pipe a thin line of frosting on the back of the hat and place in between of the ears
- Lightly push down to make sure the hat is now flesh with the frosting
- Enjoy!
Sleepy Panda Cupcakes
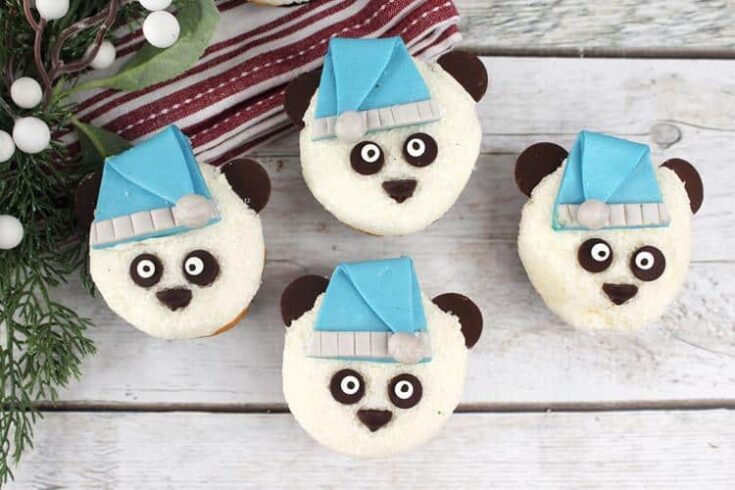
Learn how to make these adorable sleepy panda cupcakes perfect for your kids next party, sleepover, or just a fun treat!
Ingredients
Fondant hat
- 1 – 8 oz package shimmer sky blue fondant
- 1 – 8 oz package shimmer pearl fondant
- 1 fondant glue
- 1 package of fondant tools
Vanilla Cupcake
- 1 ½ C flour
- 1 tsp baking powder
- ¼ tsp baking soda
- ¼ tsp kosher salt
- 2/3 C whole milk
- 1 ½ tsp pure vanilla extract
- ½ cup unsalted sweet cream butter, slightly softened
- 1 C sugar
- 1 large egg
- 2 large egg whites
Vanilla Buttercream Frosting
- 4 ½ C powdered sugar
- 1 C unsalted sweet cream butter, softened
- 1 tbsp pure vanilla extract
- 4 tbsp heavy whipping cream
Decorating and tools
- 2 – 8 oz white sanding sugar
- 1 – 30 oz Ghirardelli milk melting wafers
- 1 – 8 oz Nestle chocolate chips
- 1 container of edible eyes
- 1 large piping bag fitted with large round tip
- Large round cookie scoop
- 1 mini angled cake spatula
Instructions
Fondant Hats
- Roll out the blue fondant to about 3 mm thick and cut 12 triangles to fit the size of your
cupcakes. After cutting the triangle, bend the tops slightly to the bottom of the triangle to give a ‘floppy’ look. - Roll out the shimmer fondant to 2 mm thick and cut out 1 inch ‘strips’ using the fondant knife, lightly make indents into the strip.
- Pinch off about ½ tsp of pearl fondant and roll into a ball.
- Brush some fondant glue onto the back of the strips and place onto the bottom of the hat
- Bend the tops again so that the tip meets the top of the pearl strip and dab with some glue carefully place the fondant ball onto the tip and lightly press down
- Set aside while you make more hats and allow to air dry for 24-48 hours
Vanilla Cupcake
- Preheat the oven to 325 degrees. Line a 12 cup cupcake pan with paper liners.
- In a medium bowl, whisk together the flour, baking powder, baking soda, and salt. In a small bowl, stir together the milk and vanilla.
- In the bowl of a stand mixer fitted with the paddle attachment, beat the butter and sugar on medium-high speed until light and fluffy, 2 to 3 minutes.
- Reduce the speed to medium-low, slowly add the egg and egg whites one at a time, and beat until creamy, 1 to 2 minutes.
- Slowly add half the flour mixture, then the milk mixture, then the remaining flour mixture, beating until just blended after each addition.
- Divide the batter evenly among the cupcake liners and bake until the tops are just dry to the touch, and a toothpick inserted into the center comes out clean, 18 to 20 minutes.
Vanilla Buttercream Frosting
- Using a standing mixer with a paddle beater, cream the butter and vanilla until combined
- Mix in 2 C of powdered sugar on low speed until combined, the frosting will look like pebbles
- Mix in the remaining powdered sugar and slowly increase speed to medium speed
- Mix in the heavy whipping cream and continue to beat the frosting until it is combined and
smooth.
Decorating the cupcake
- Scoop a mound of frosting on top of the cupcake and use the cake spatula to smooth into a thick mound
- Scoop some frosting into the piping bag
- Take three chocolate chips and push two in for the eyes. Turn the third to the side when you push in to give the definition of a nose
- Add a small dot of frosting onto the back of the eyes and place into the center of the melting wafer
- Place two melting wafer on the side for the ears
- Carefully pipe a thin line of frosting on the back of the hat and place inbetween of the ears
- Lightly push down to make sure the hat is now flesh with the frosting
- Enjoy
Recommended Products
As an Amazon Associate and member of other affiliate programs, I earn from qualifying purchases.