Disclosure of Material Connection: Some of the links in this post may be "affiliate links." This means if you click on the link and purchase an item, I will receive an affiliate commission. Disclosure in accordance with the Federal Trade Commission's 16 CFR, Part 255. This site is a participant in the Amazon Services LLC Associates Program, an affiliate advertising program designed to provide a means for sites to earn advertising fees by advertising and linking to Amazon.
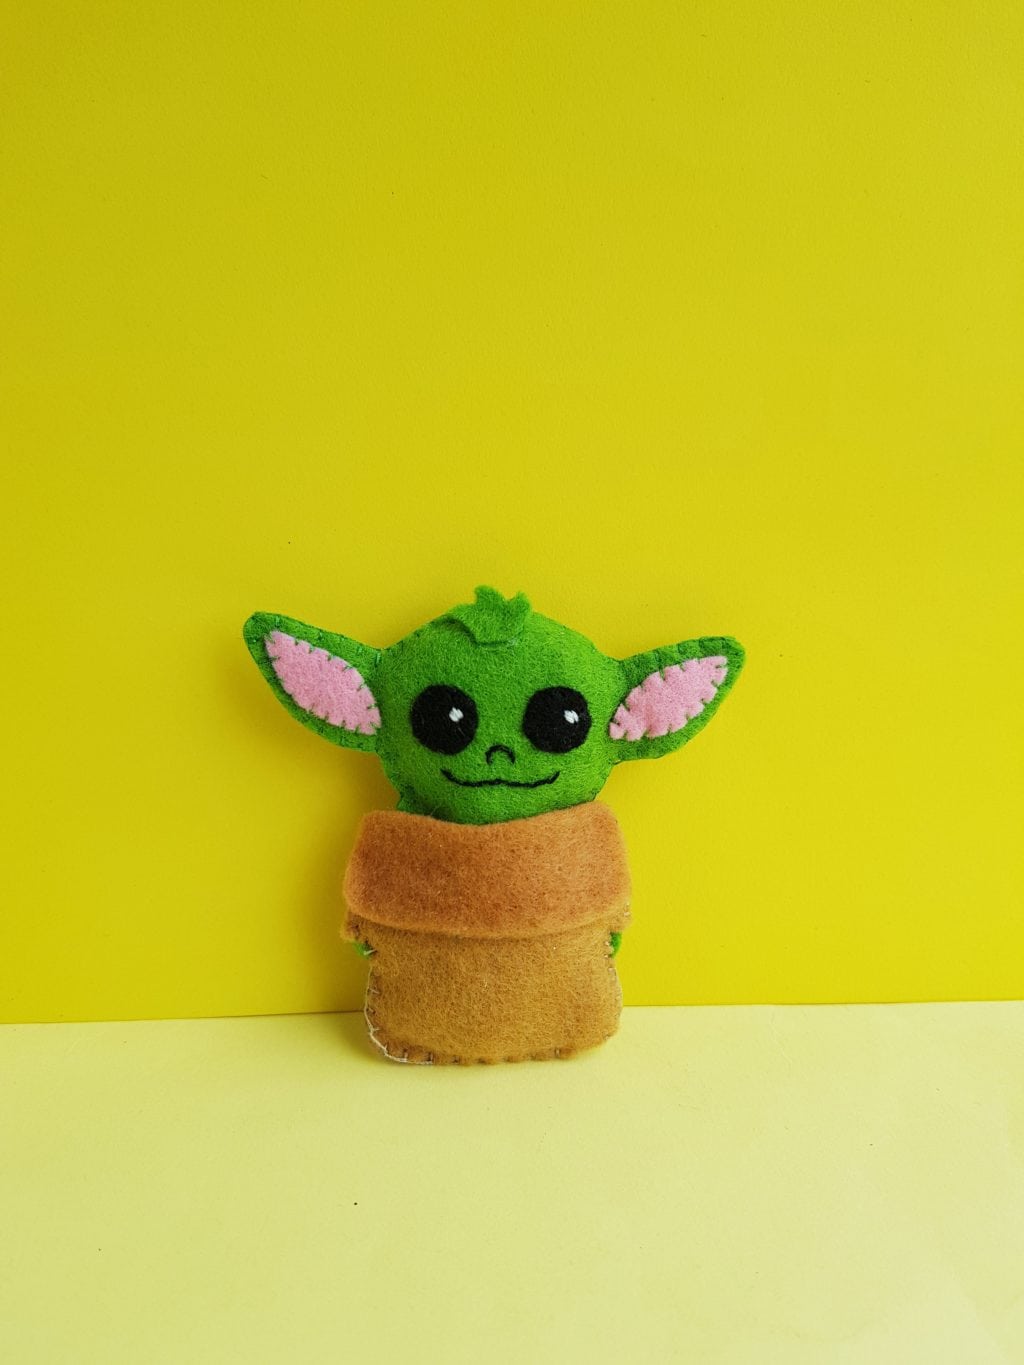
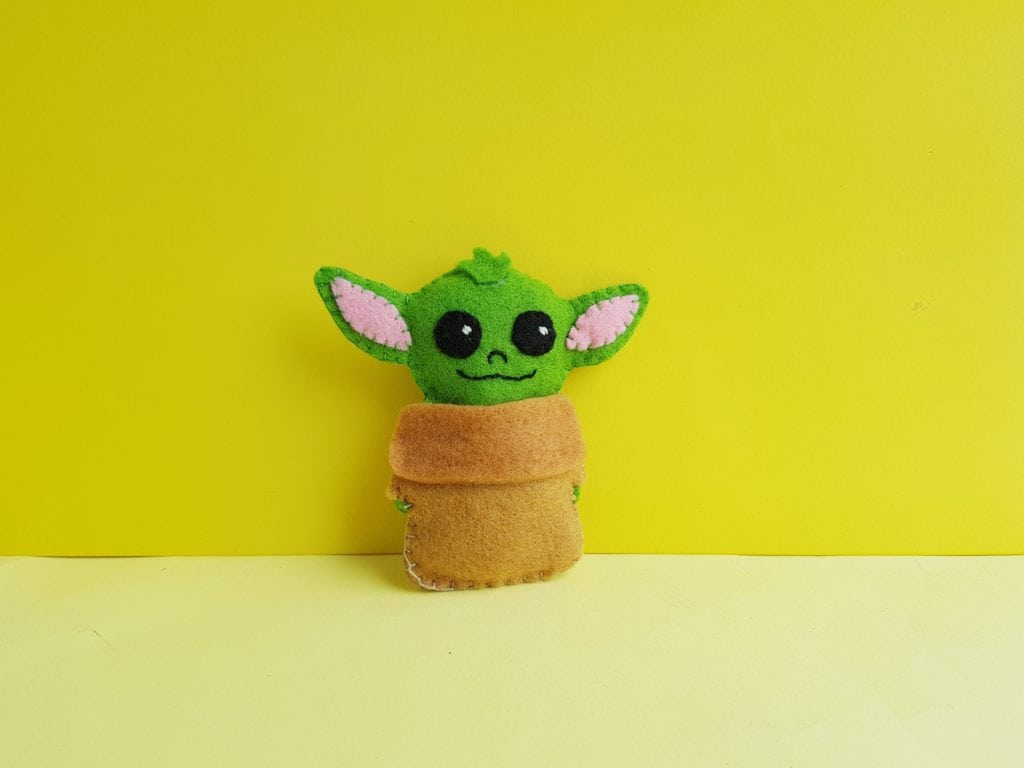
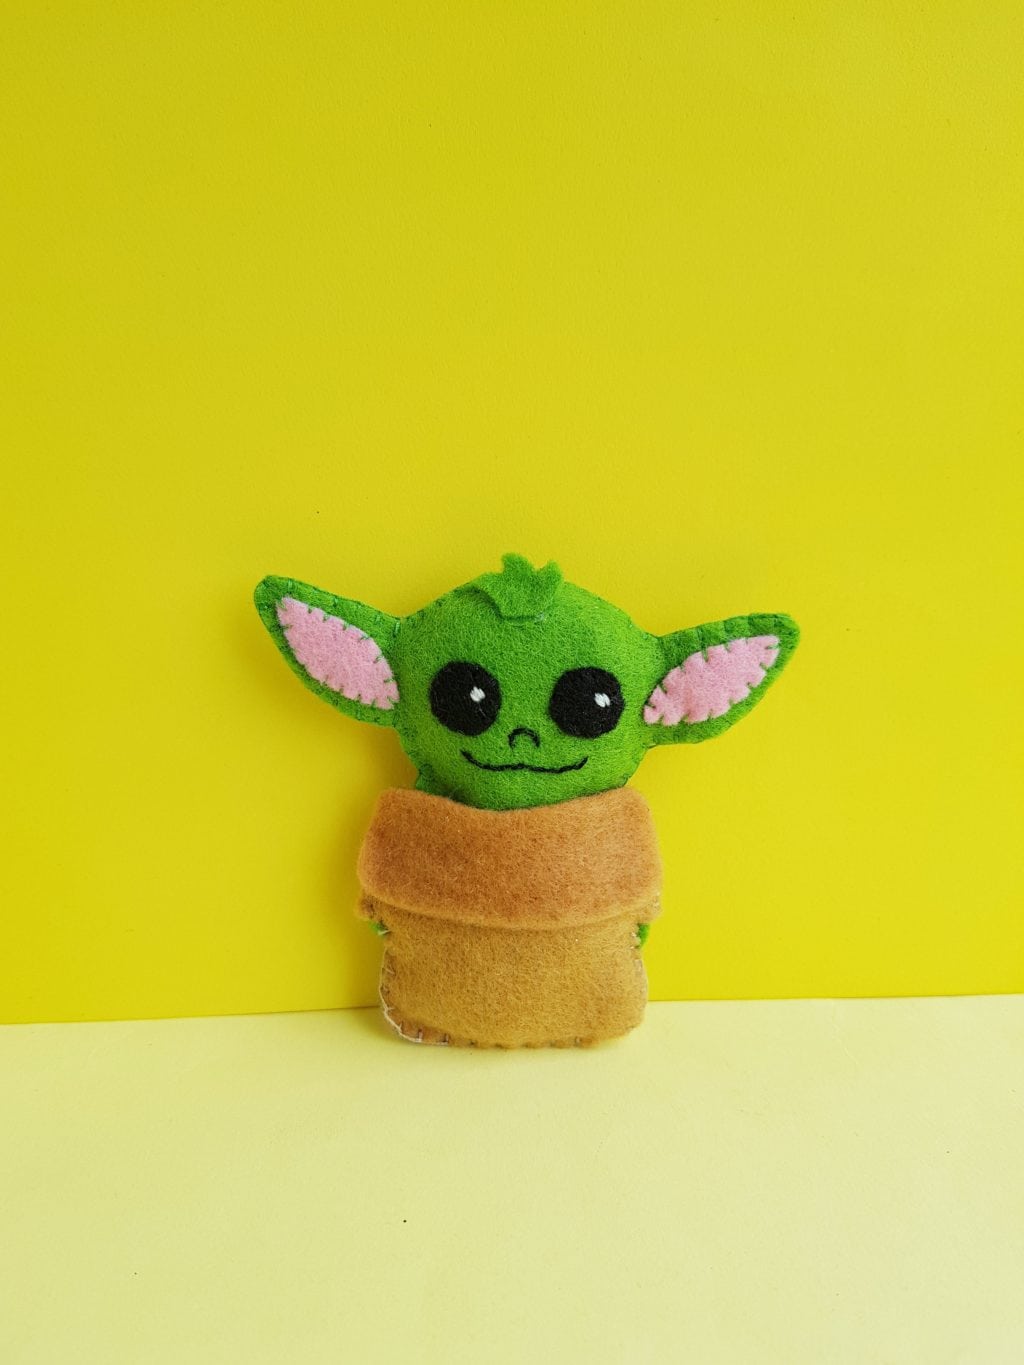
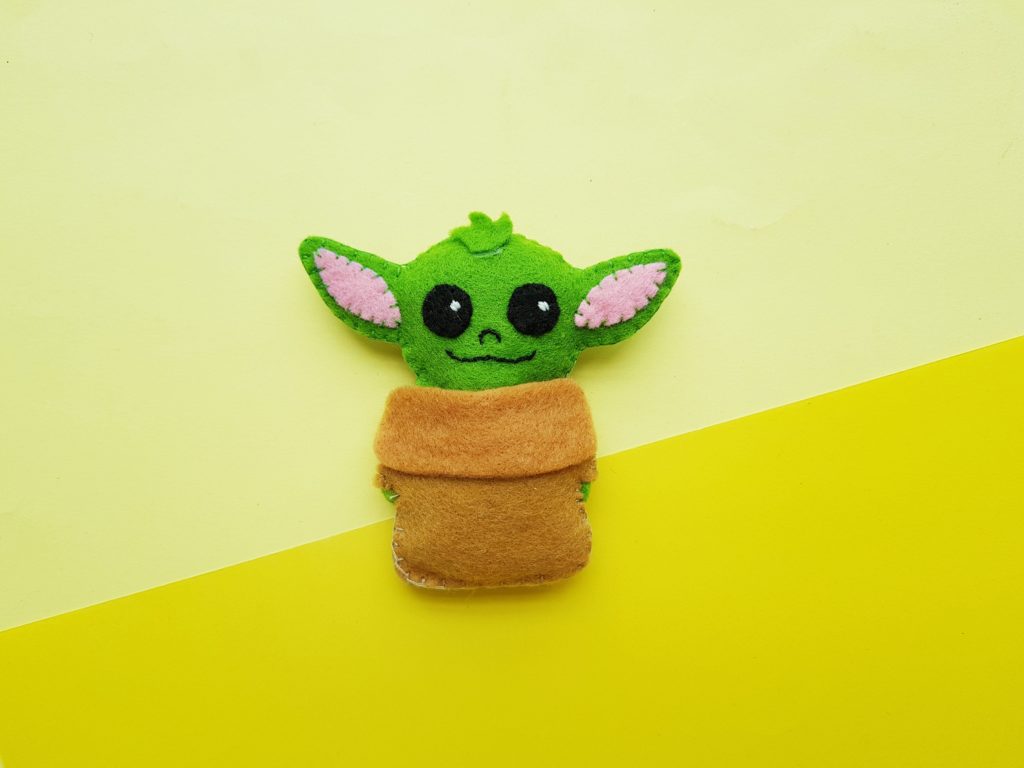
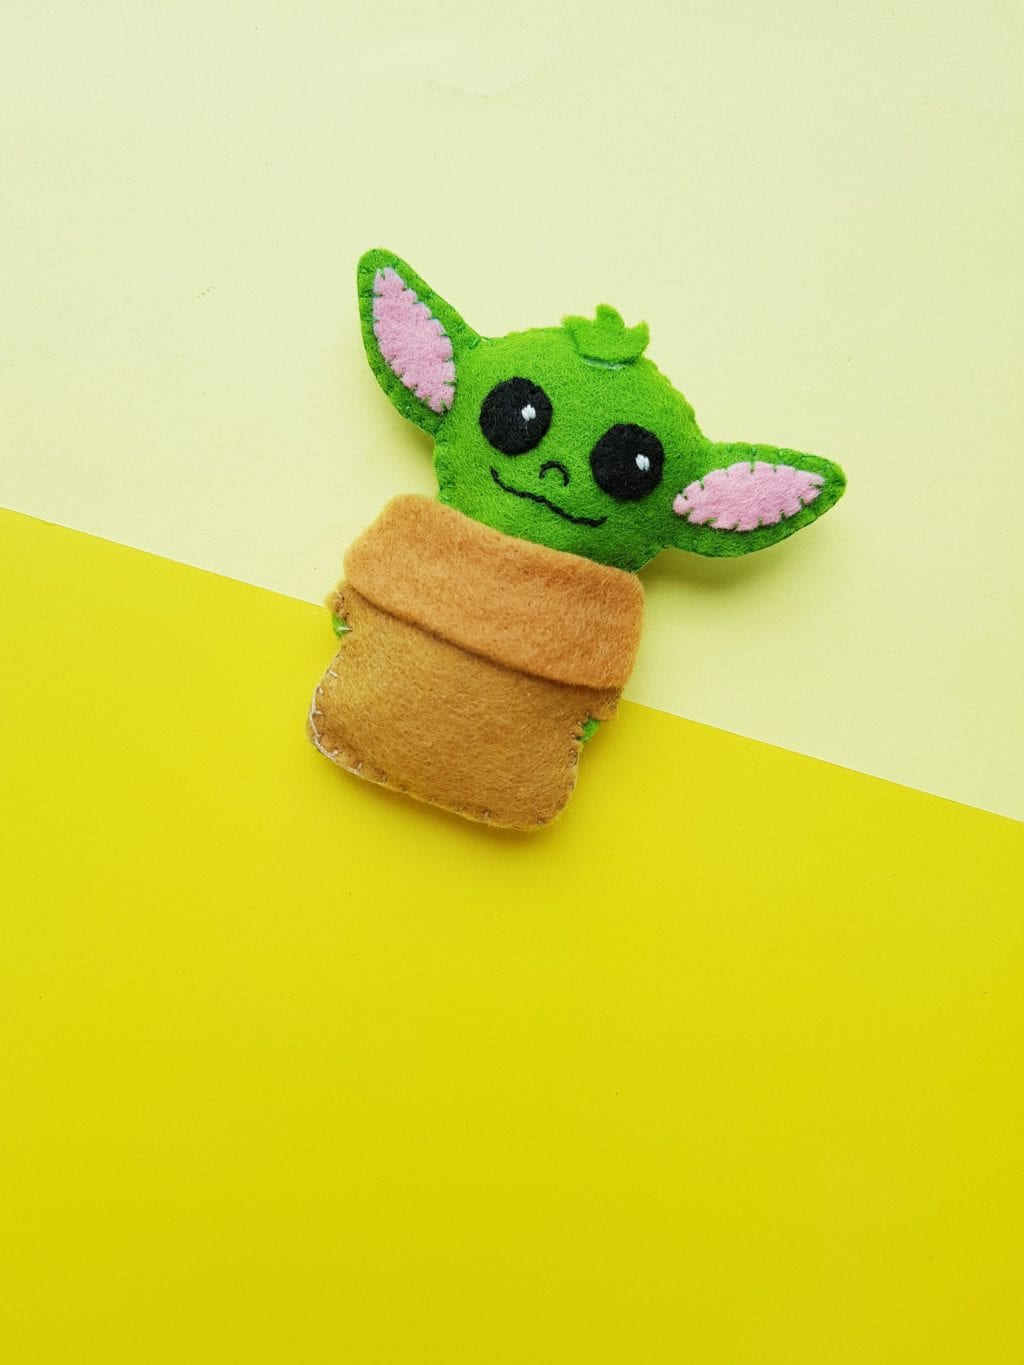
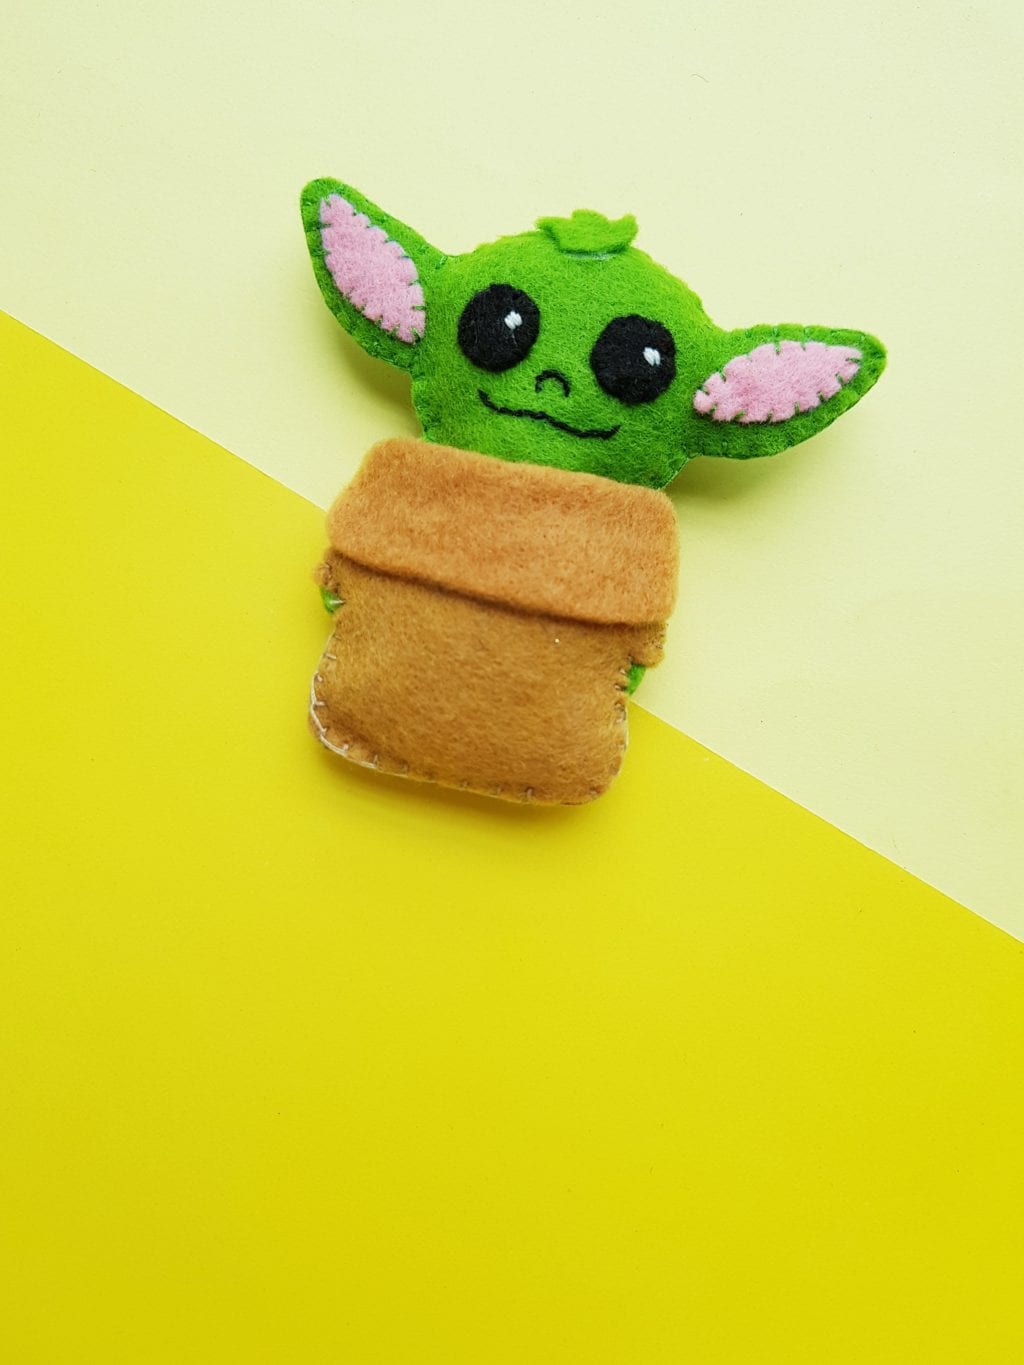
If you or someone you know is a huge Star Wars or The Mandalorian buff, then you need to make this adorable DIY Yoda Plushie! It’s incredibly easy to put it together. This cute Yoda craft is great for kids or adults. Plus, it’s perfect for giving as a gift too.

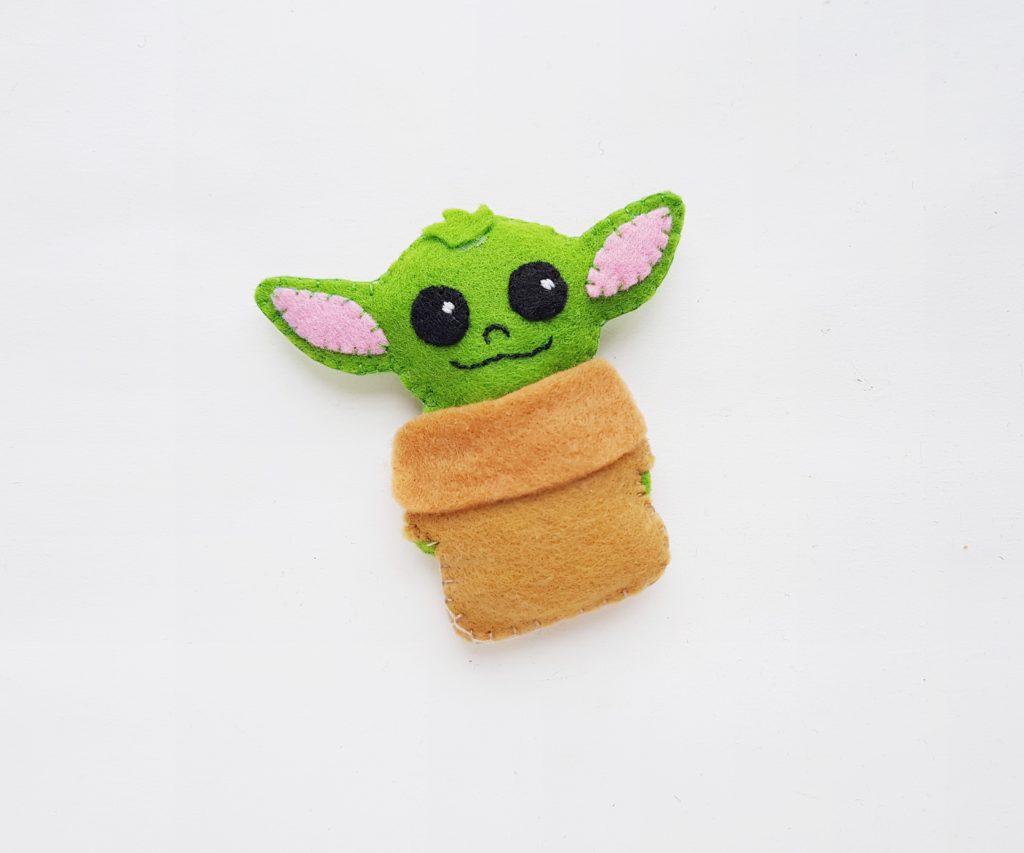
DIY Yoda Plushie
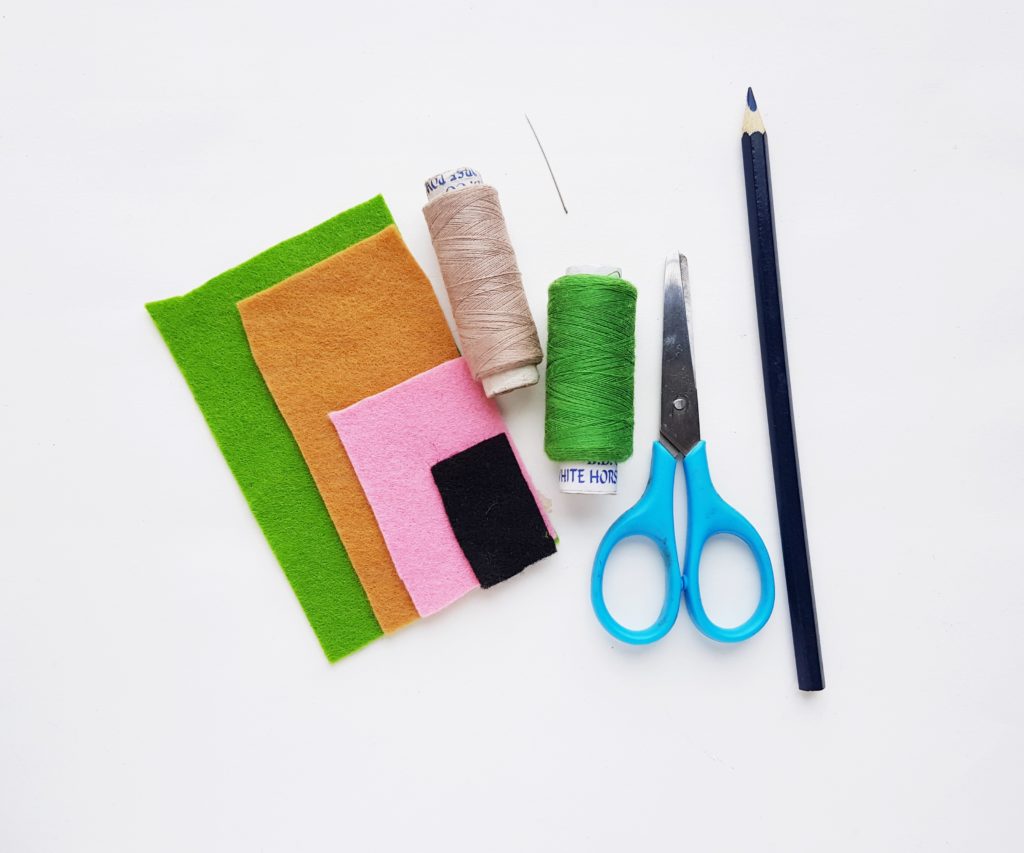
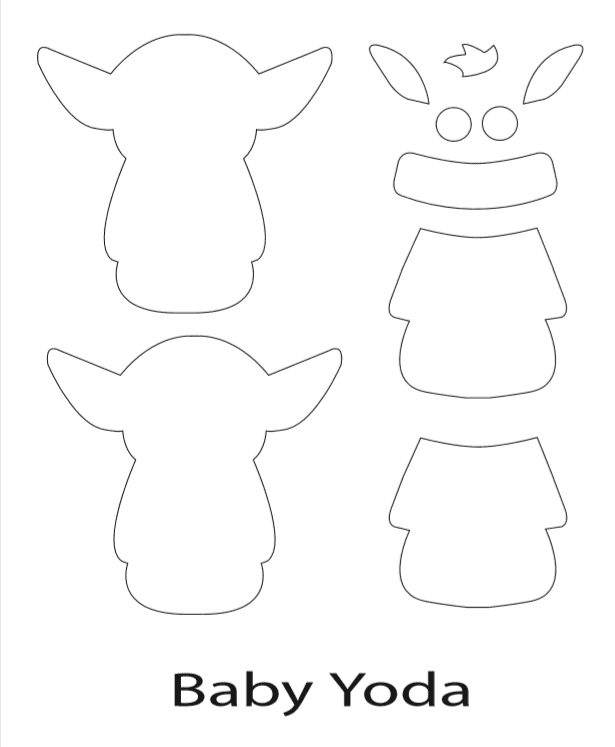
One of the things I enjoy about making this plushie is that you only need a few items and a pattern to make it. We have included the pattern for you in this post so you can easily print it and use it to help you. It’s easy enough that even an older child or teen can make their own Yoda plushie without too many problems.
List of Supplies:
- Colored felt fabrics – Green, tan, pink and black.
- Pencil
- Scissors
- Needle and thread
How To Make A DIY Yoda Plushie:
First Step:
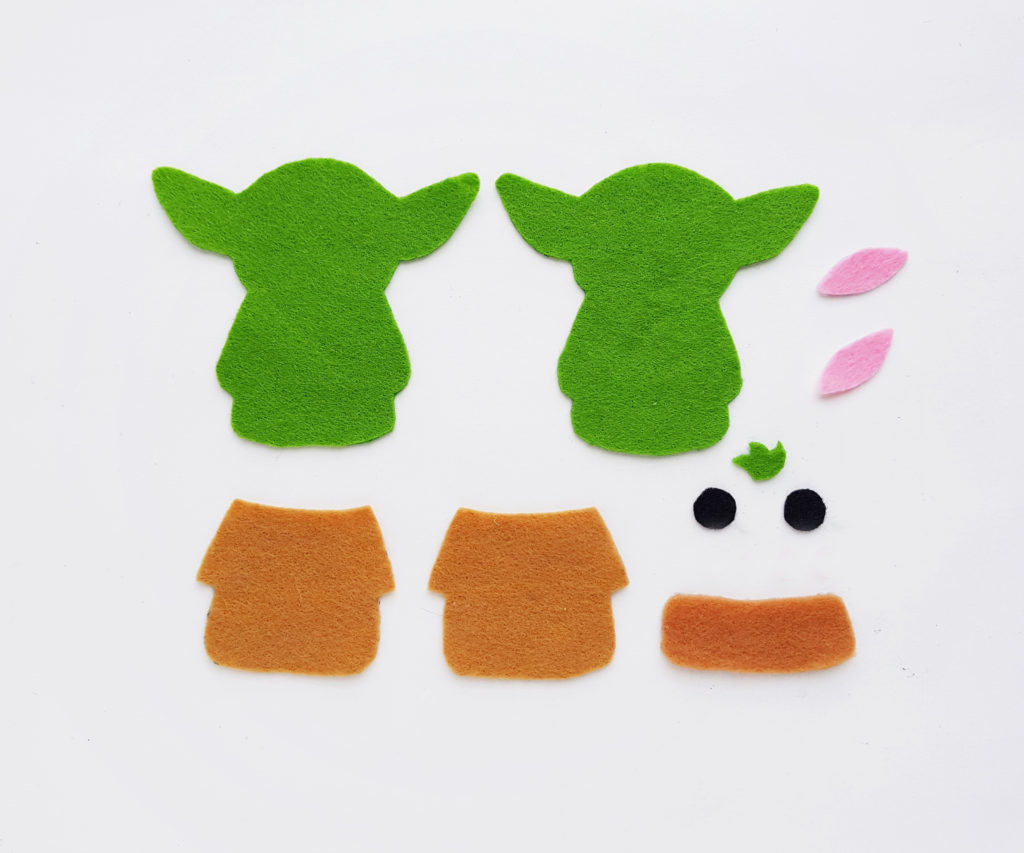
Select green, brown, black and pink colored felt fabrics for this craft. Trace the 2 body patterns and the small hair pattern from green colored felt. Trace the 2 circles on black felt and the 2 inner ear patterns on pink felt. Trace the rest of the patterns (clothe) on brown colored felt. Cut out the traced patterns.
Second Step:
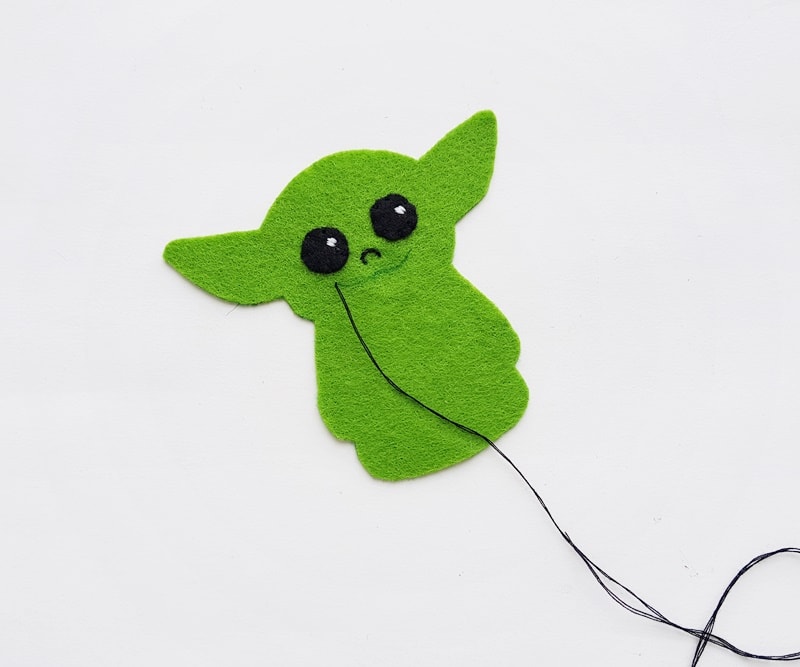
Grab any one of the body cutouts and the 2 black circles. Stitch the black circle on the head part of the body pattern. I stitched a small spot on each black circle. Also, trace the nose and mouth and stitch the traced lines with black thread.
Third Step:
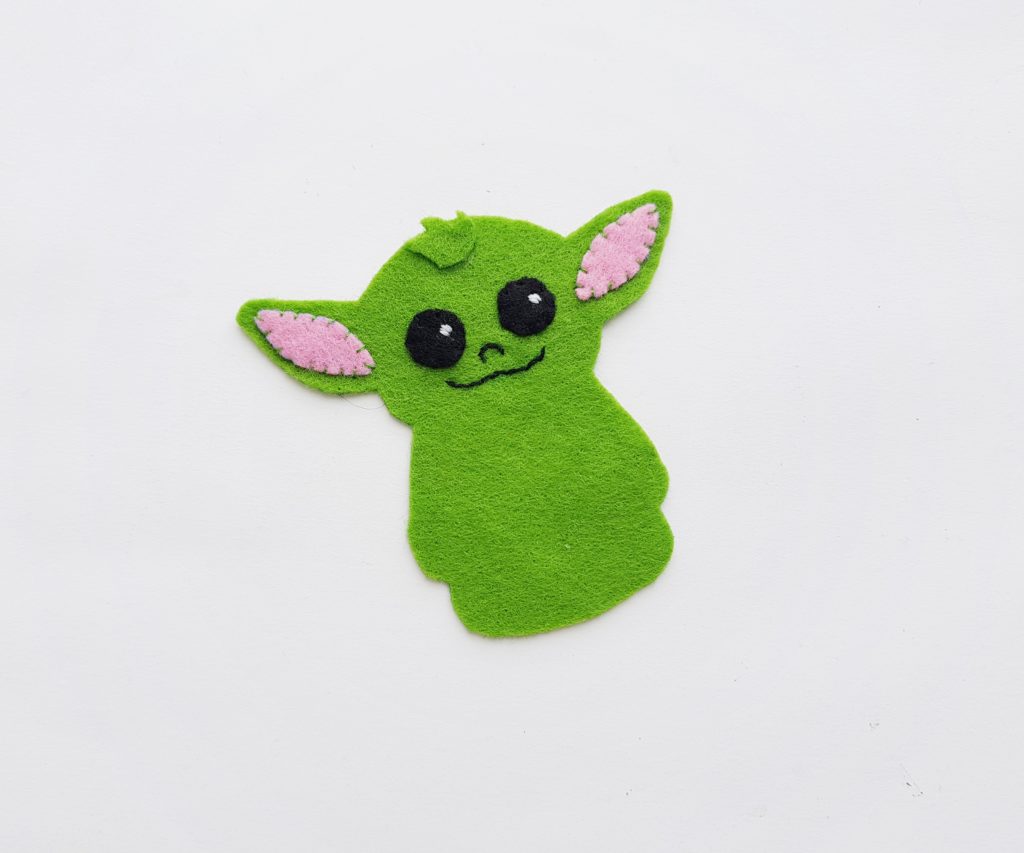
Stitch the inner ear parts cut out from pink felt in the middle of the ear parts of the head. Also, stitch the small hair pattern on the top side of the head.
Step – 4:
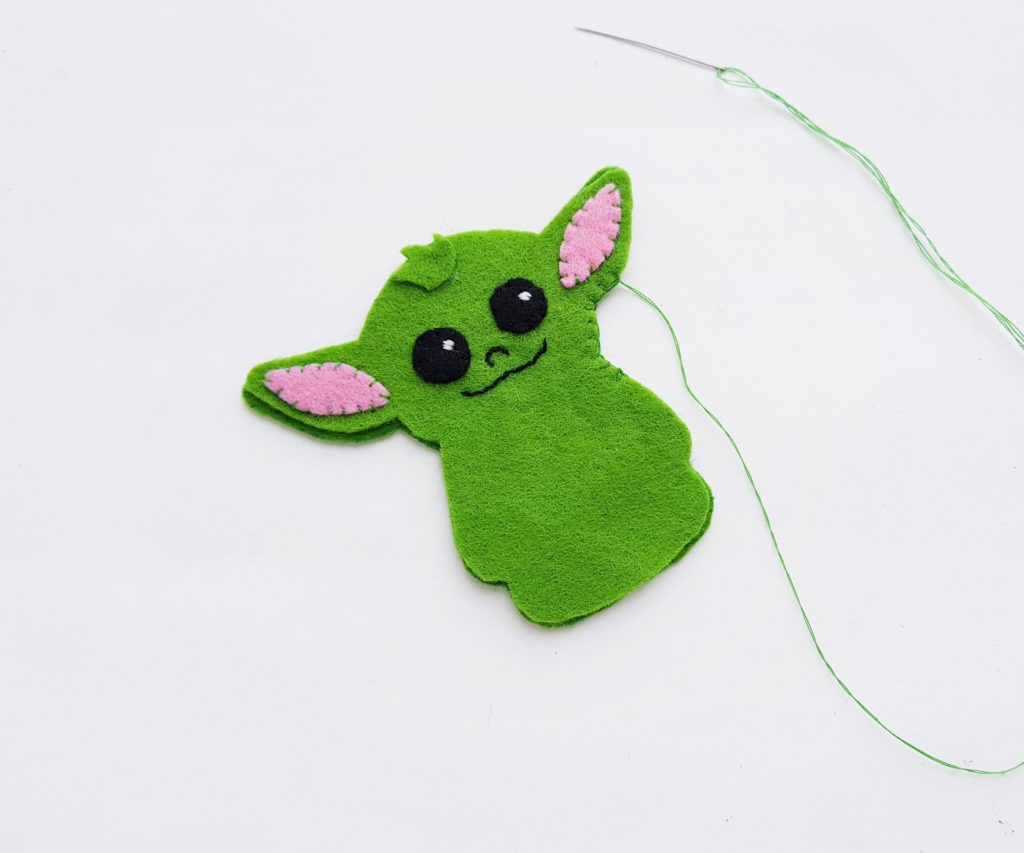
Grab the other body pattern and place it under the stitched one. Prepare a needle with green thread and start to stitch the sides of the head parts of both body patterns to attach them together.
Fifth Step:
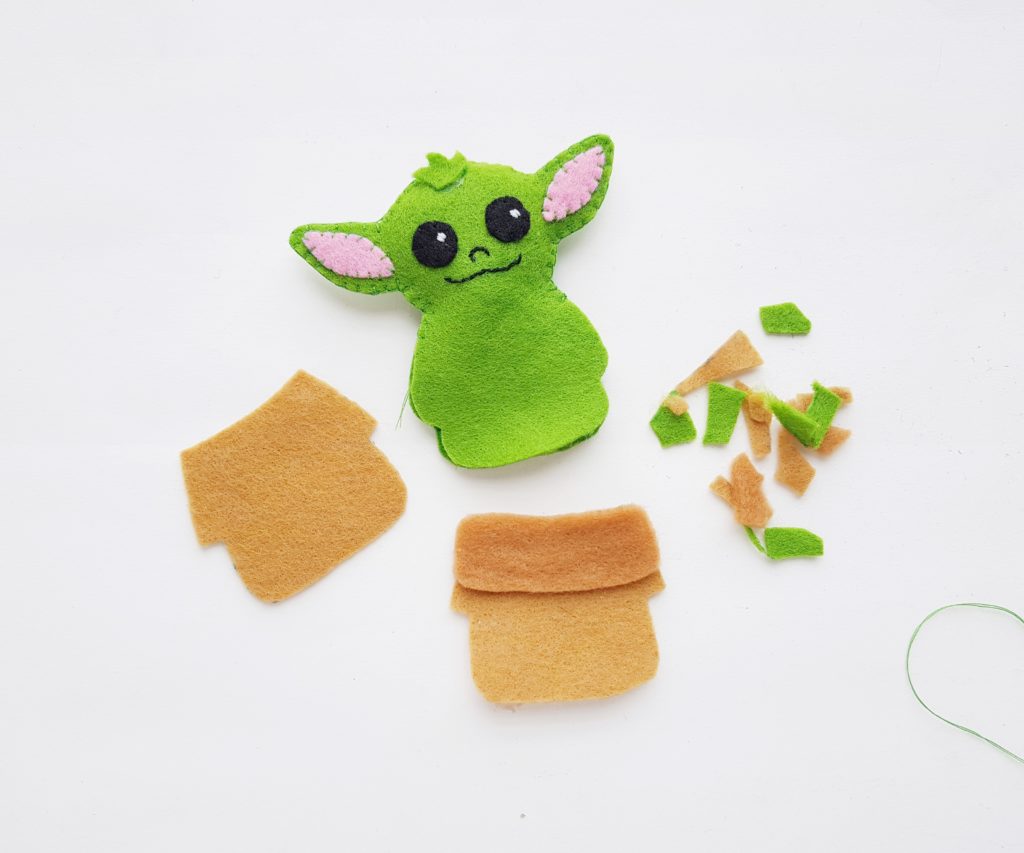
Do not stitch the body patterns all around; keep the rest of the part intact. Only stitch the head. Attach the strip part of the clothe patterns along the top side of either clothes base pattern.
Sixth Step:
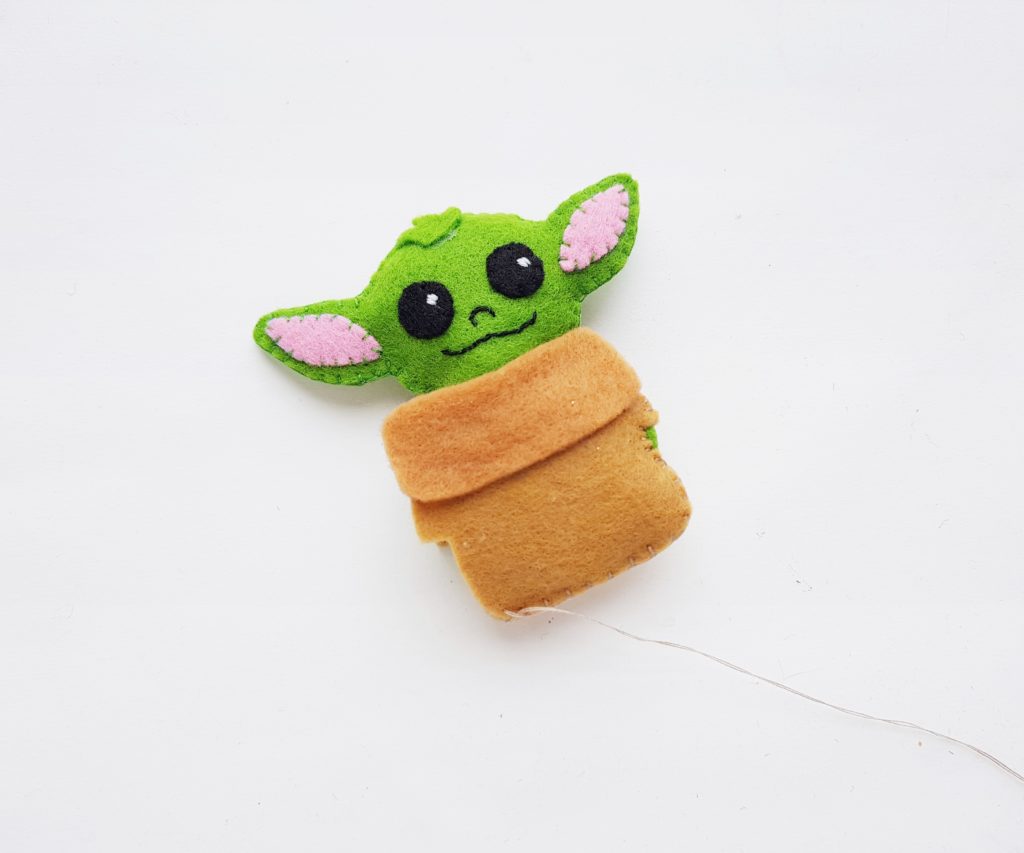
Place the plain cloth cutout on the backside of the felt Yoda and place the other cloth pattern on the front side of the felt Yoda. Start to stitch around the sides of the clothing pattern to secure the felt Yoda for stuffing.
Seventh Step:
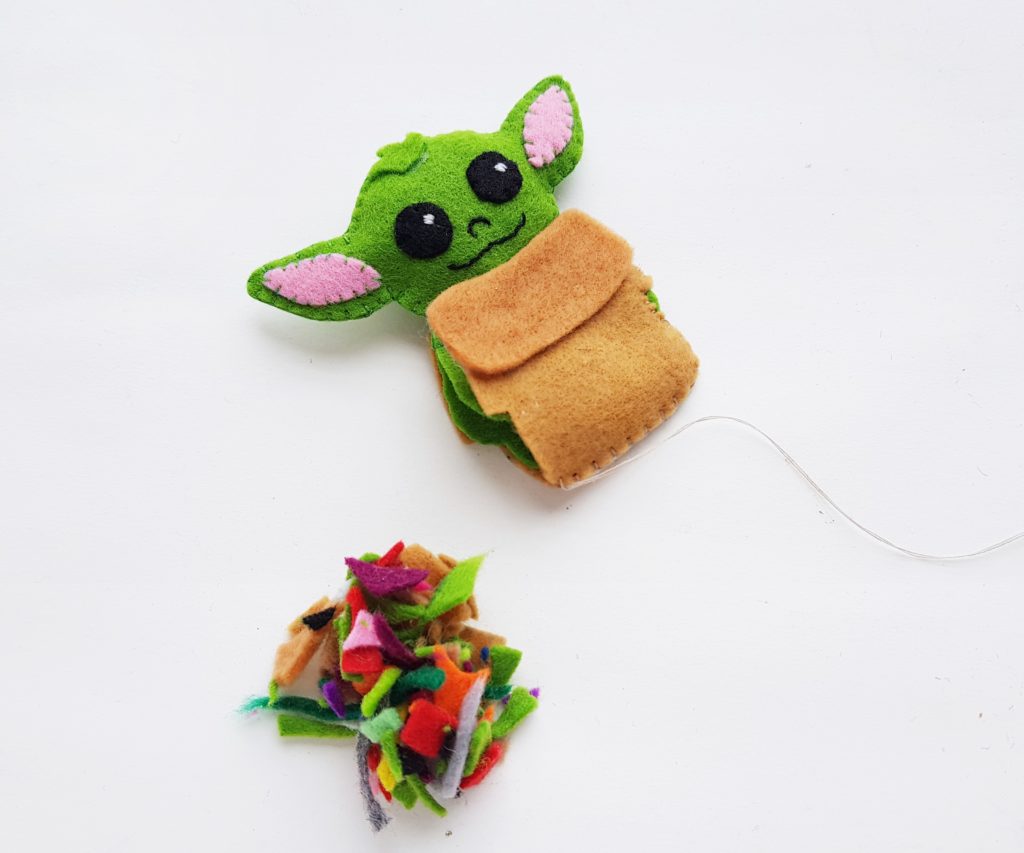
Keep a small opening for stuffing the felt Yoda. I’m using scrap felt pieces for stuffing. You can cut the scrap felts into small pieces for a nice and even stuffing. Stuff the felt Yoda through the small opening.
Eighth Step:
Stitch the open end to secure the stuffing.

Ninth Step:
Once you are done stitching the side, tie a knot or 2 and cut off extra thread.
Yoda Plushie Ideas
Of course, this sweet Baby Yoda Plushie is fun to play with if you are a kiddo, but you can also do a few other things with them too. Here are a few ideas to try:
- Make several of them and sew them together at the ears. They would be a really playful garland for your next Star Wars themed party.
- Decorate your Christmas tree with a bunch of them. Use various additional Mandalorian or Star Wars ornaments to make it extra special.
- Attach a card to them and give them to teachers at the beginning of the school year. The note could say, “Yoda Best Teacher” or something along those lines. The teachers will get a kick out of them.
Can I Make Larger Yoda Plushies?
Yes, you can make all sorts of sizes of Yoda plushies if you want to. You will just have to enlarge the pattern so it is the size you are wanting to make. If you can’t do that with your home printer, most libraries and office products stores can do it for you for a small fee.
More Items You Are Going To Love
Check out these additional posts that we are sure you are going to go crazy for:
- Baby Yoda Gifts For Fans Of The Mandalorian
- Star Wars Stocking Stuffers
- 20 Gifts To Decorate A Star Wars Fan’s Home