Disclosure of Material Connection: Some of the links in this post may be "affiliate links." This means if you click on the link and purchase an item, I will receive an affiliate commission. Disclosure in accordance with the Federal Trade Commission's 16 CFR, Part 255. This site is a participant in the Amazon Services LLC Associates Program, an affiliate advertising program designed to provide a means for sites to earn advertising fees by advertising and linking to Amazon.
These hydroponic self-watering planters are made from recycled bottles. By cutting a bottle in half and flipping the top upside down you can create a unique herb planter that waters itself!
Hydroponic self-watering herb gardens are a great gift for plant lovers.
You can start your own indoor herb garden and have fresh herbs to cook with year-round. No more buying expensive fresh herbs at the store. Place these self-watering planters on your window sill, kitchen table or any sunny spot. All they need is bright light and water. They are great for people who travel as the self-watering system will keep your plants watered while you are away.
This project is a great science experiment for kids. Children will learn about how hot and cold water make the glass expand and contract, how cotton can absorb water and wick it into the soil and how seeds grow into plants.
Supplies for self-watering hydroponic herb garden
- Safety glasses
- Gloves
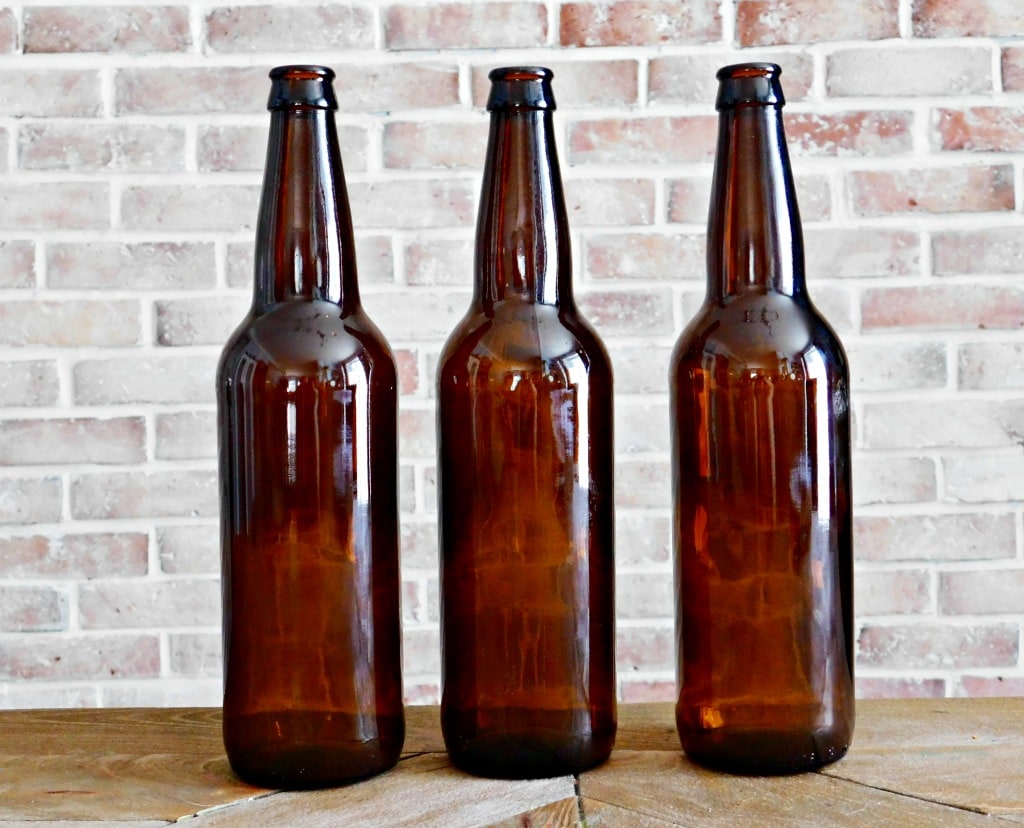
- Glass bottle like a wine or large beer bottle
- Glass bottle cutting tool
- Fine grit sandpaper
- Cotton yarn that wicks water
- Large wooden bead
- Potting soil
- Herb seeds or plants
Directions for self- hydroponic self-watering herb garden
Put on your safety goggles and gloves and get a pot of boiling water ready on the stove.
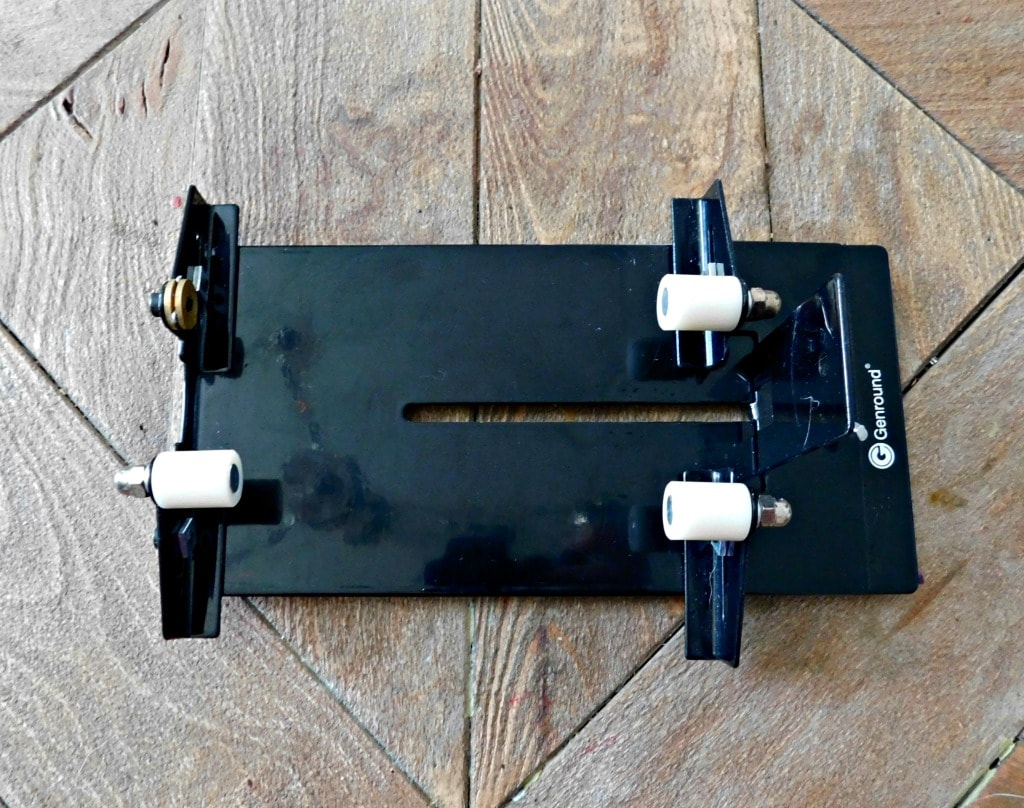
Start by cutting a bottle in half with the glass bottle cutting tool.
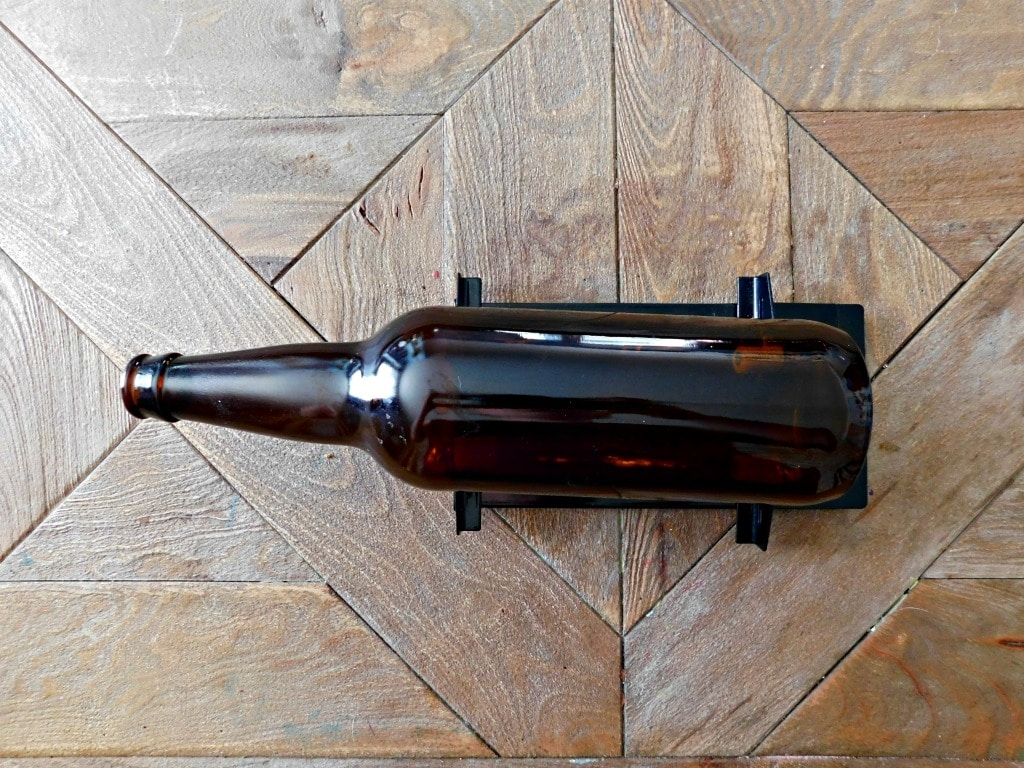
Place the bottle on the tool and rotate it on the blade while using firm pressure. This will score the glass.
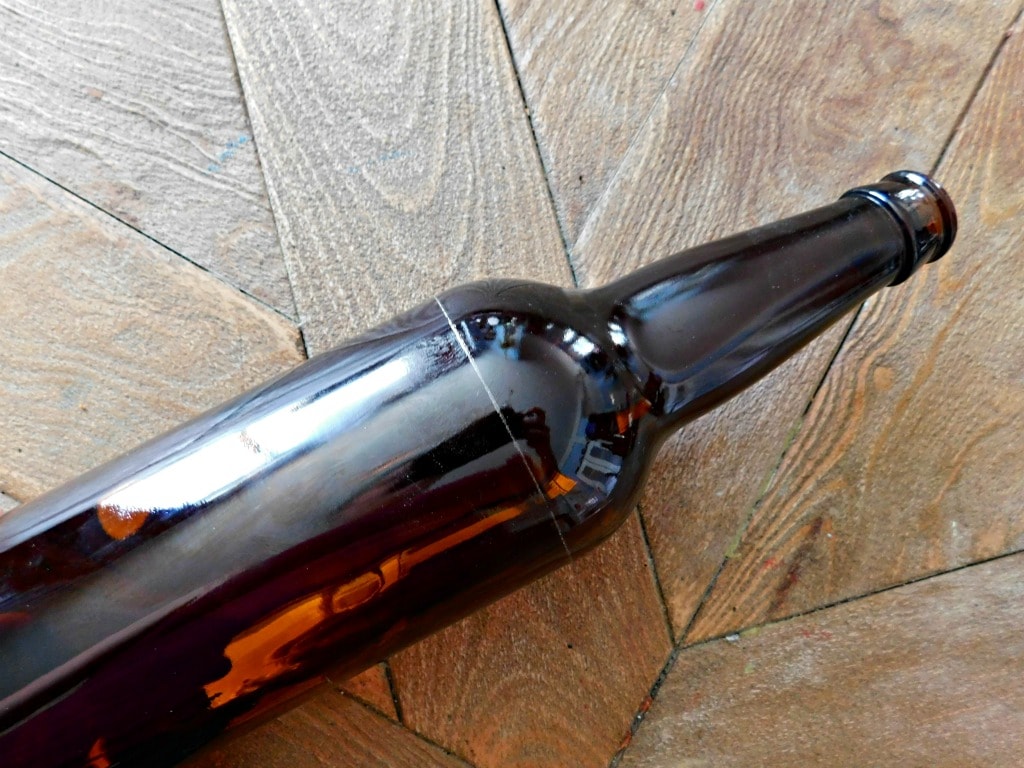
Alternate pouring boiling and cold water over the score line. I placed a kitchen towel in the sink and poured the hot and cold water on the score line as I rotated the bottle. The hot water makes the glass expand and the cool makes it contract. The score line on the glass makes that area weaker and after expanding and contracting a few times the glass will eventually break along the score line.
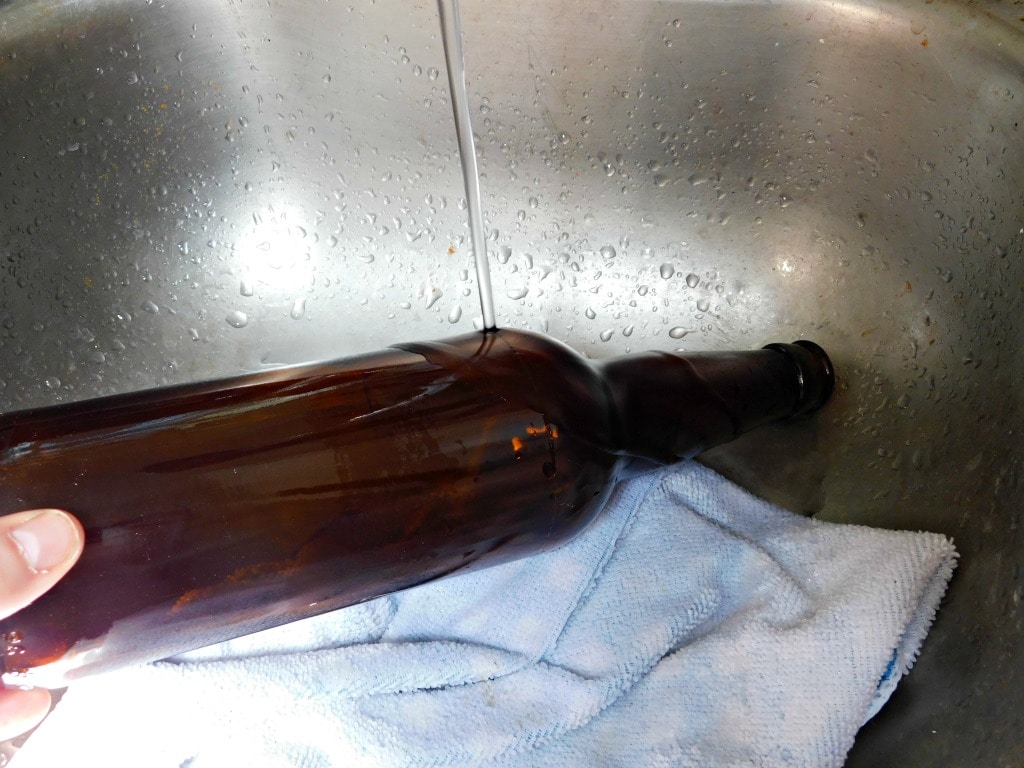
For more details on how to cut a glass bottle check out this tutorial.
Place each cut edge of the bottle onto the fine sandpaper and gently sand the sharp edges until they are smooth.

Take a 12 inch piece of the cotton wick and pull it through one of the wood beads. Tie it to the bead.
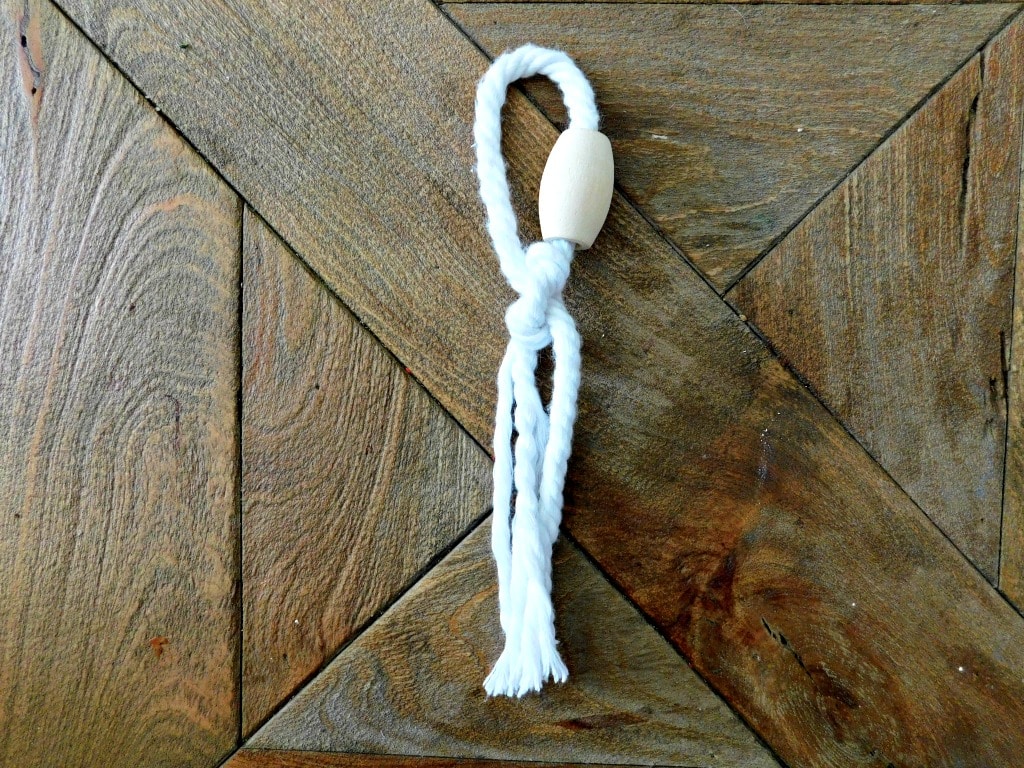
Feed the cotton through the opening in the neck of the bottle and pull it through so that the bead gets stuck in the bottle neck.
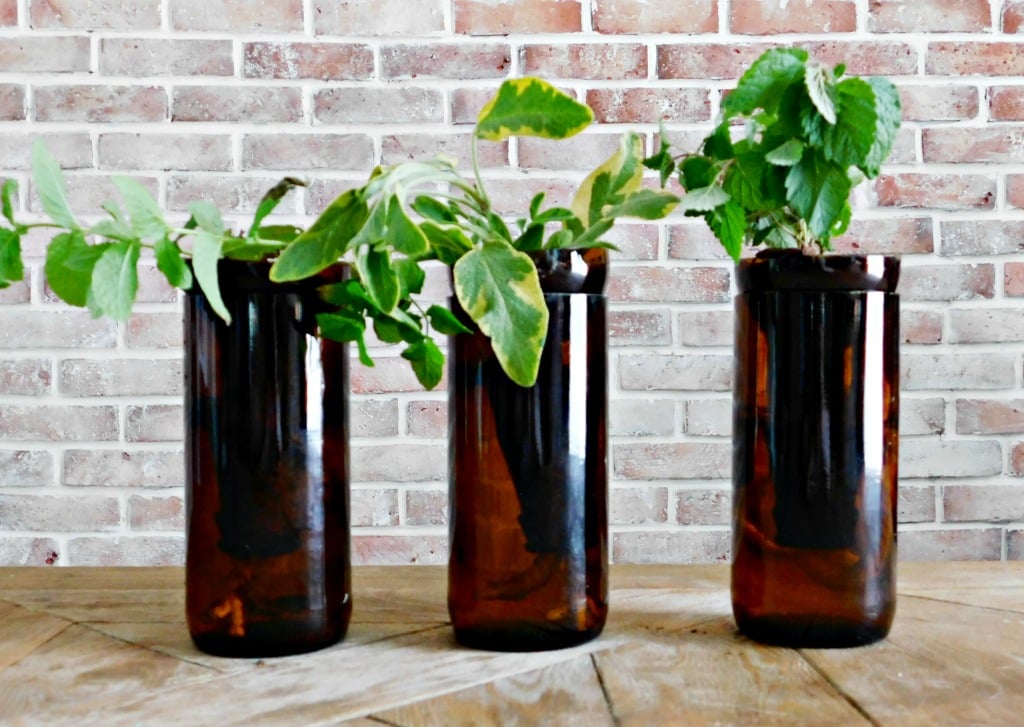
Fill up the bottom piece of the bottle with water and place the top piece upside down on top of it so that the cotton wick drops into the water.
Fill the top of the bottle with potting soil. As you add the soil make sure the top part of the cotton wick is pulled up into the soil. The water will travel up the wick and keep the soil damp and the plants hydrated.
Sprinkle some herb seeds into the top of the soil. Learn which herbs are the best to grow all year long here.
Watch your herb plants grow!
Author Bio: Adrienne is a DIY blogger and jewelry artist who helps people on a budget learn the skills they need to complete projects around the home and garden. She lives in Washington State with her husband and daughter.