Disclosure of Material Connection: Some of the links in this post may be "affiliate links." This means if you click on the link and purchase an item, I will receive an affiliate commission. Disclosure in accordance with the Federal Trade Commission's 16 CFR, Part 255. This site is a participant in the Amazon Services LLC Associates Program, an affiliate advertising program designed to provide a means for sites to earn advertising fees by advertising and linking to Amazon.
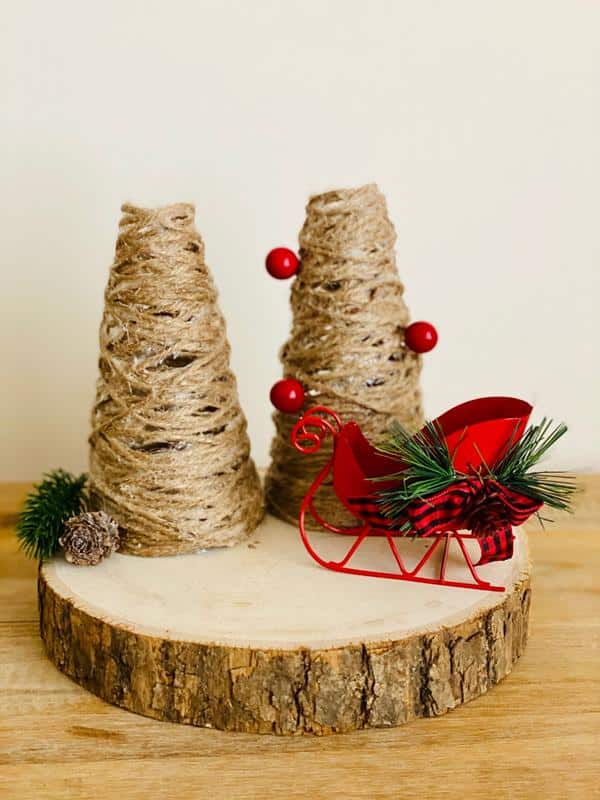
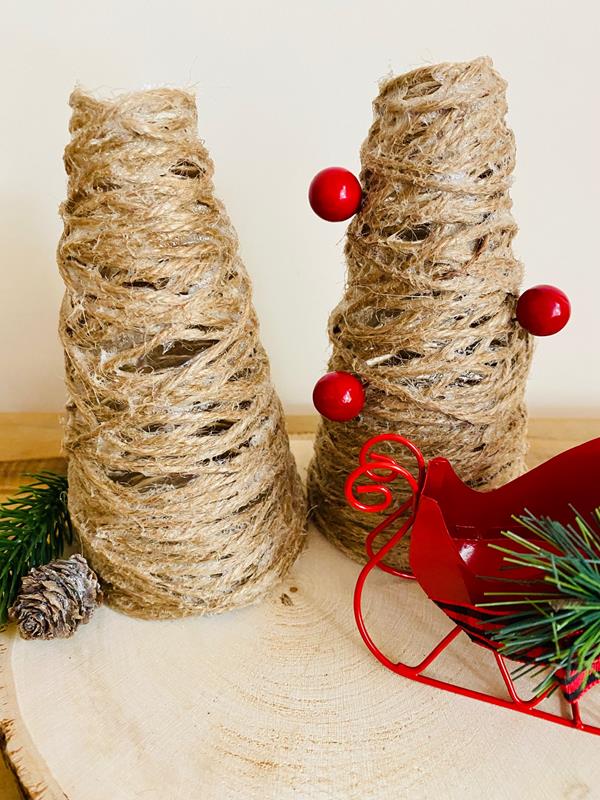
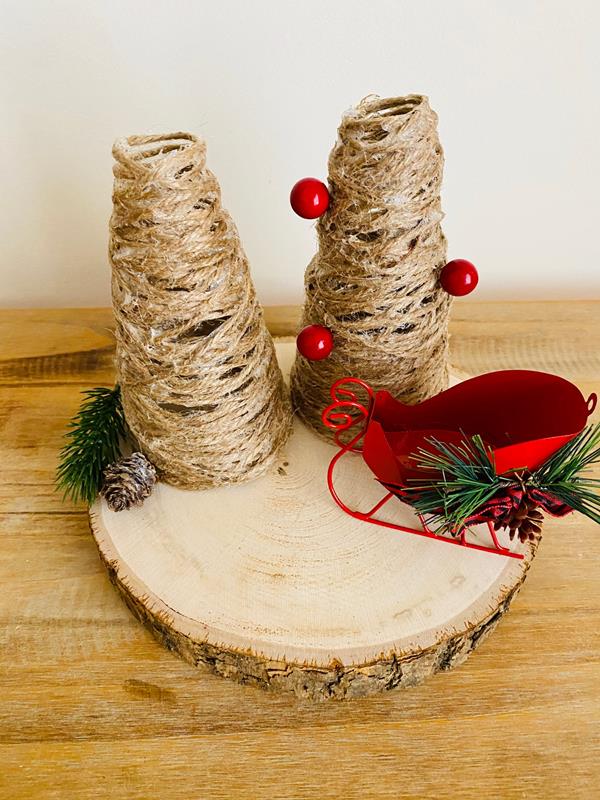
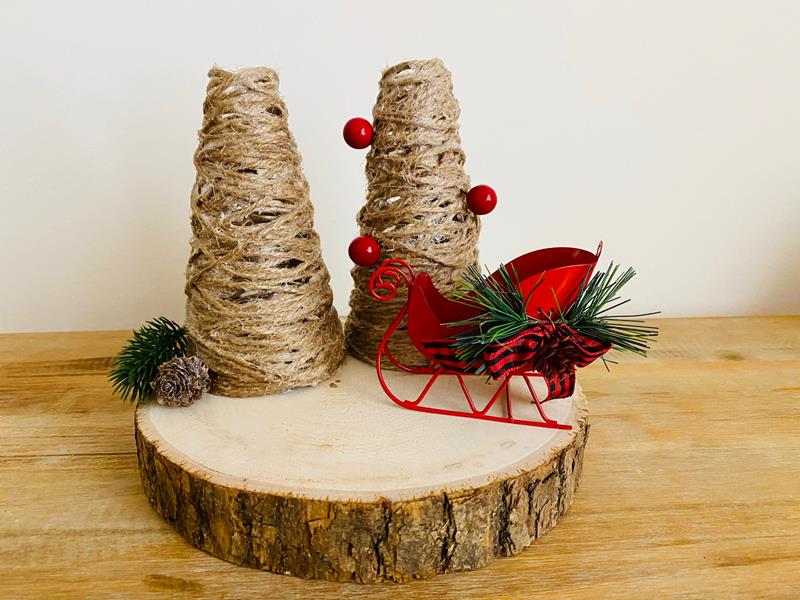
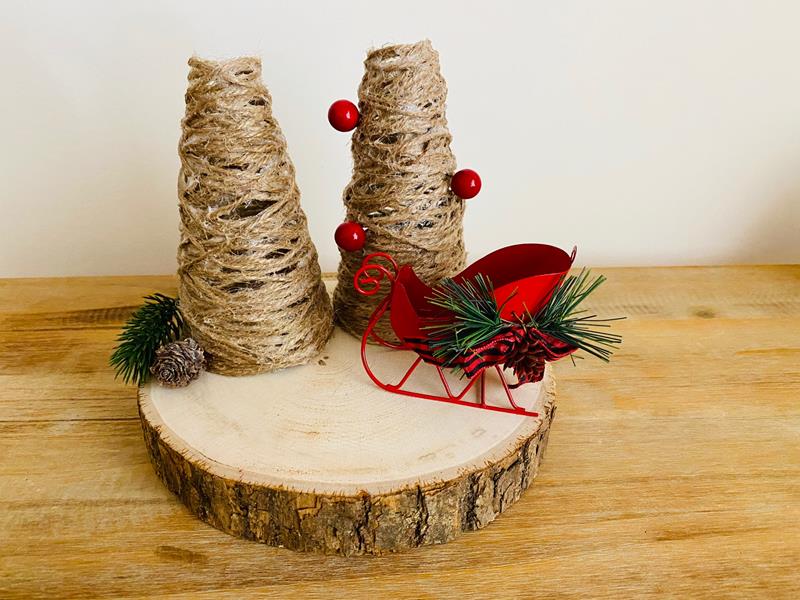
These adorable farmhouse themed Christmas décor are the perfect cozy craft to help you settle into something fun this holiday season! If you’re looking for a craft that’s simple to make, we’ve got you covered. There’s nothing better than a cheap and easy DIY project that you can add to your stock of Christmas decorations for a fraction of the price of the ones at the decorating store. Today, we’re going to take you step-by-step to creating your own farmhouse jute trees DIY Christmas decor for your home.
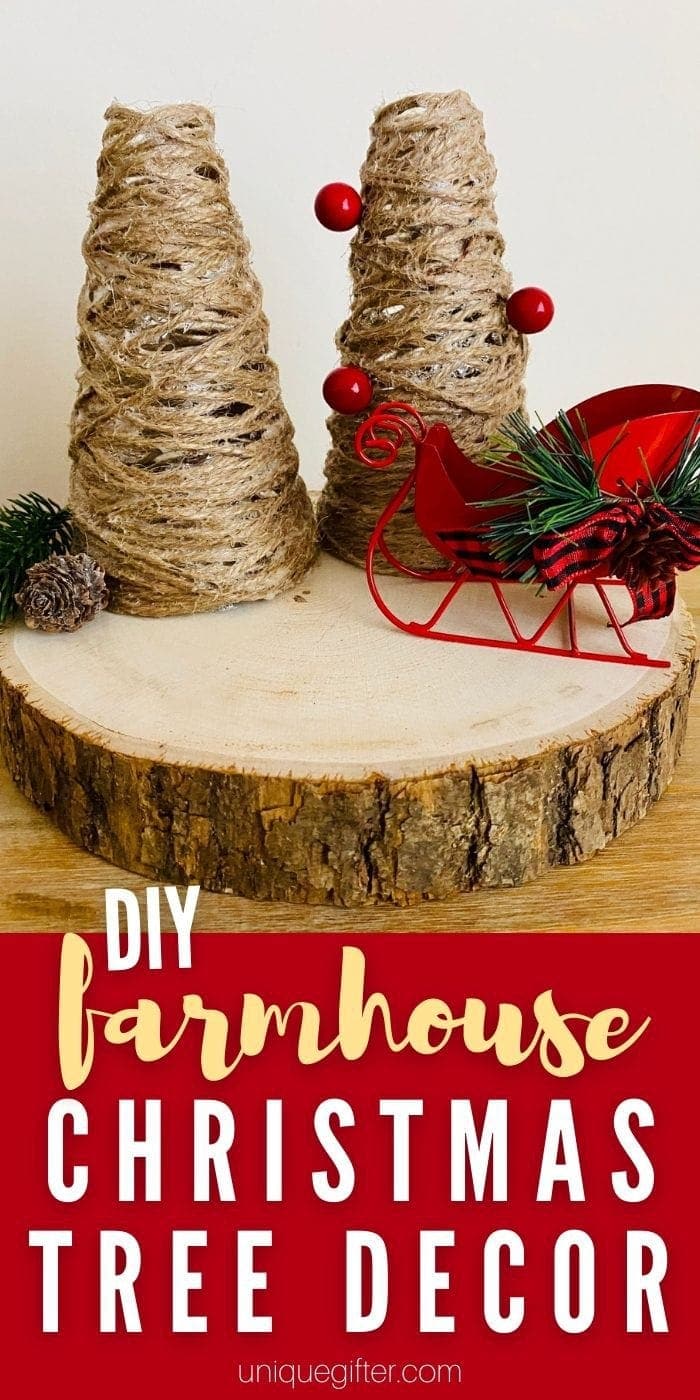
Adorable Farmhouse Jute Trees DIY Christmas Décor
Who doesn’t love farmhouse décor?! If you’re anything like me, you probably want to find even more ways to incorporate this style into your cherished Christmas decoration routine. The best part about these adorable Christmas Jute trees is how easy they are to make! Seriously, this is a great project for getting you into the Christmas crafting spirit. Also, these make wonderful gifts for your farmhouse loving friends and family!
There couldn’t be a better time to whip up some delightful and adorable homespun Christmas decorations! Prices of boutique decorations are skyrocketing. And, if you’re shopping online you’re probably looking at some hefty shipping fees as well. For the cheapest Christmas decorations out there, home is the place to start. Most bulk craft supplies you can find for relatively cheap, too!
How to Customize These DIY Jute Trees
You can easily add a really adorable personal touch to these DIY Christmas trees! Since we’re working with twine and mod podge, the opportunities are endless. Add some faux holly, snow, a small string of battery operated LED Christmas lights or even a flickering electric tea light. Strands of tinsel, decorative gold odds and ends and glitter can even add more glorious sparkle to these eye-catching homemade tree crafts. Here’s a few more pieces of inspiration for your crafting pleasure:
- Add acorns, pine needles, pistachio shells and other natural elements to bring even more farmhouse charm to these trees.
- You don’t have to just use twine! Tinsel makes a great base too, but you can also use half and half to create a rustic yet shimmering style that’s totally unique.
- Super glue some of those small foam present decorations, more faux holly and even a small star for extra detail.
- Apply craft paint, (I recommend white!) for a vintage snow look, brushing gently to leave some of the brown twine backing to give it a slightly worn appearance.
Supplies:

Subscribe To Our Newsletter
We can help make your gift giving easier!
Join our mailing list to receive curated gift ideas, recipes, and celebration inspiration delivered right to your inbox.
You have Successfully Subscribed!
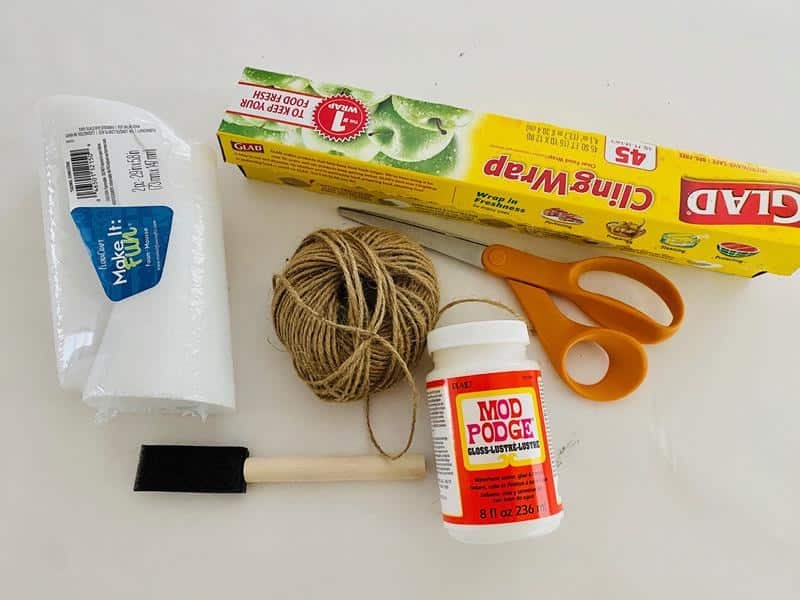
Farmhouse Jute Trees DIY Christmas Decor
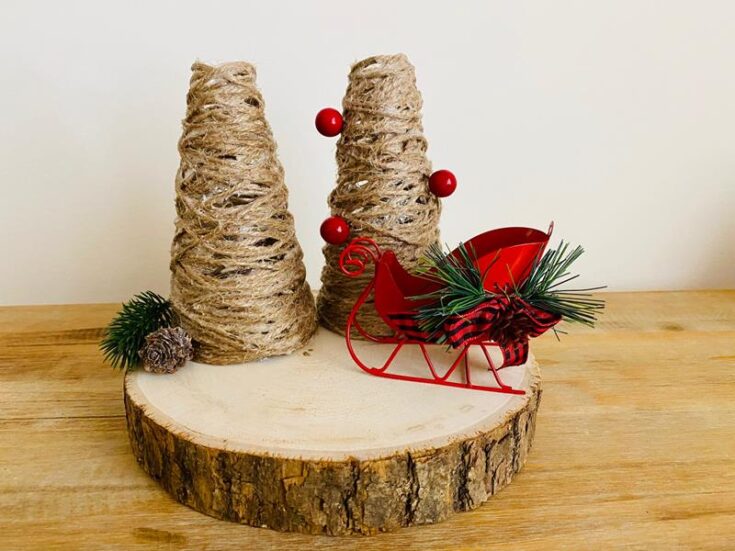
These adorable farmhouse themed Christmas décor are the perfect cozy craft to help you settle into something fun this holiday season! If you're looking for a craft that's simple to make, we've got you covered.
Instructions
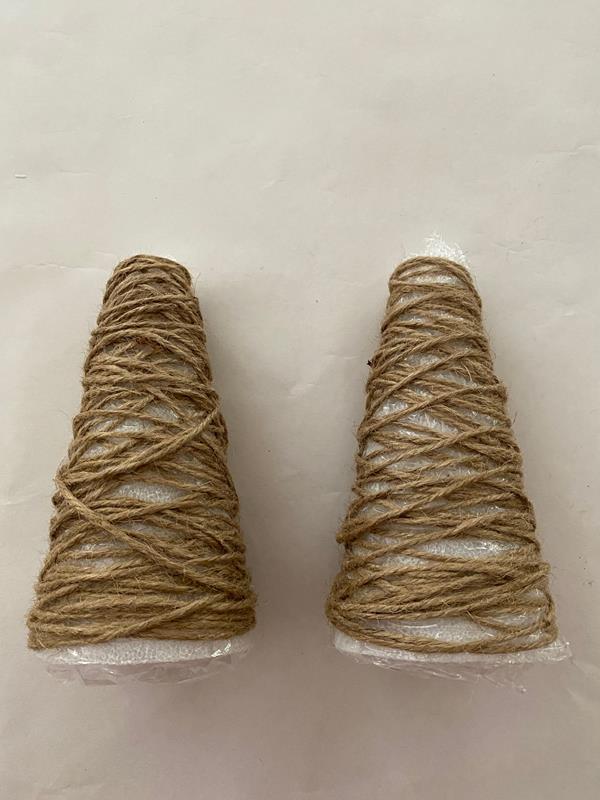
- Wrap each one with plastic wrap. ( I wrapped it a couple of times to make sure I covered everything)
- Start wrapping the jute twine around the cone until desired fullness. I tucked the end piece under near one of the wrapped pieces and it will stay.
- Apply a generous amount of Mod Podge to the wrapped cones making sure to cover the entire cone.
- Let dry overnight
- The cone will slip right out once dried and then you remove the plastic wrap, in some spots it will need a little tug to remove the plastic wrap.
Instructions For Making Farmhouse Jute Trees DIY Christmas Décor:
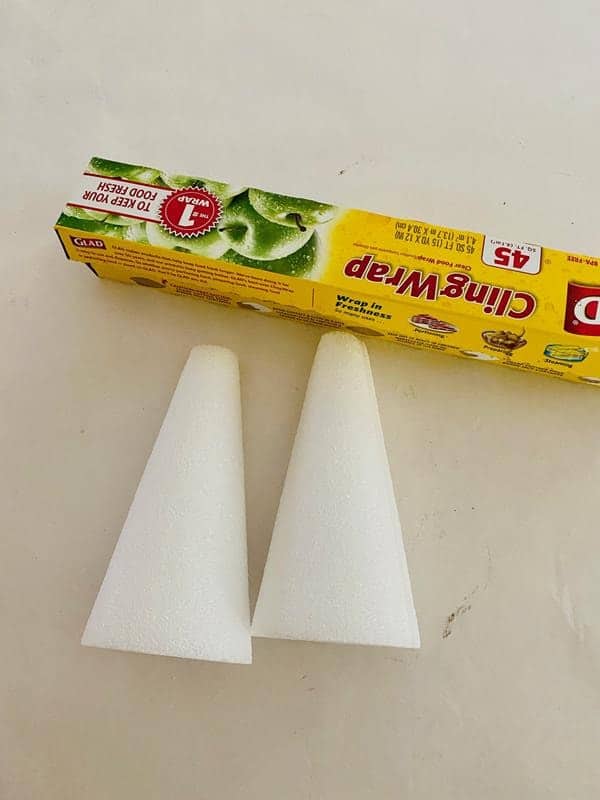
Wrap each one with plastic wrap. ( I wrapped it a couple of times to make sure I covered everything)
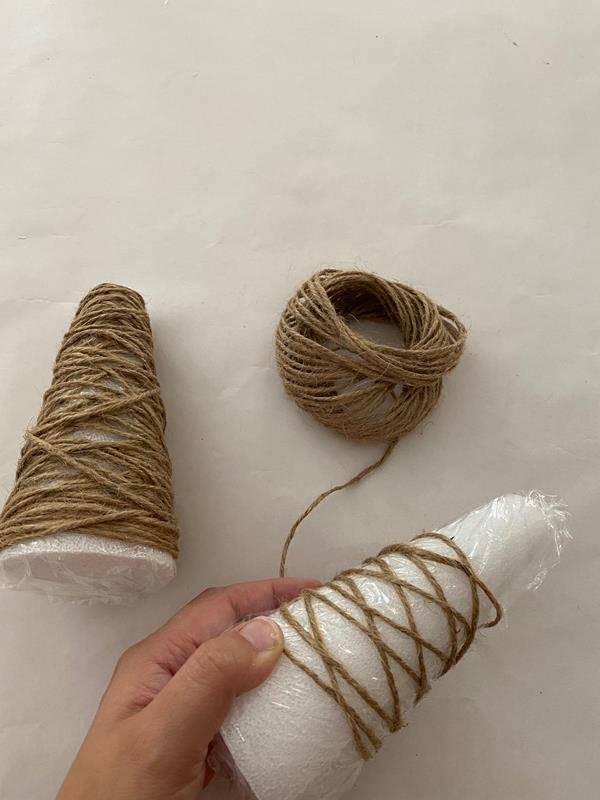
Start wrapping the jute twine around the cone until desired fullness. I tucked the end piece under near one of the wrapped pieces and it will stay.
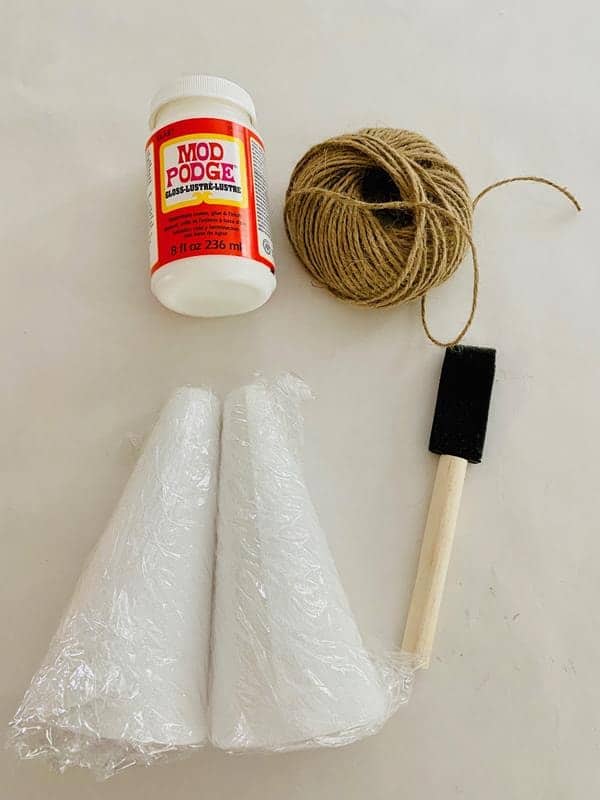
Apply a generous amount of Mod Podge to the wrapped cones making sure to cover the entire cone.
Let dry overnight
The cone will slip right out once dried and then you remove the plastic wrap, in some spots it will need a little tug to remove the plastic wrap.
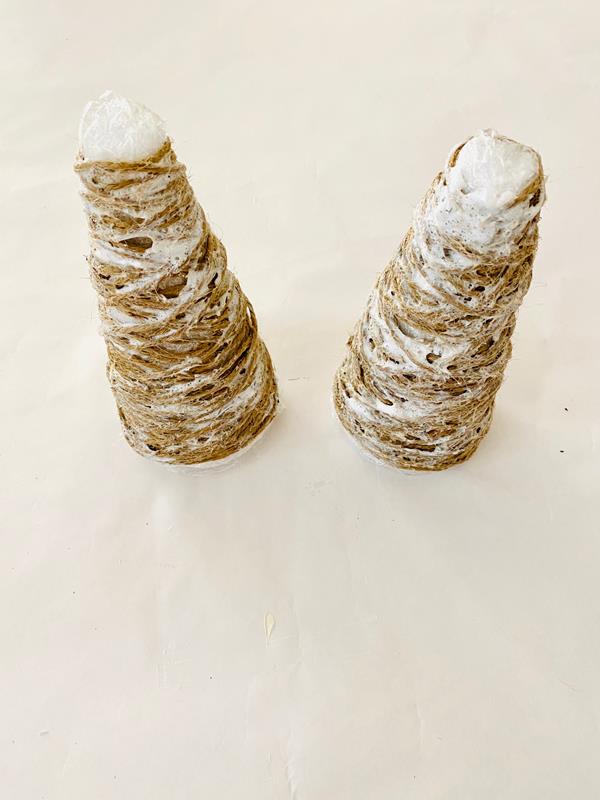
Finished Craft Photos
